
In this article Roger Taylor offers some quick tips on checking the condition of your brakes.
Most classic MGs have a combination of both disc and drum brakes and are easiest to check in a raised position.
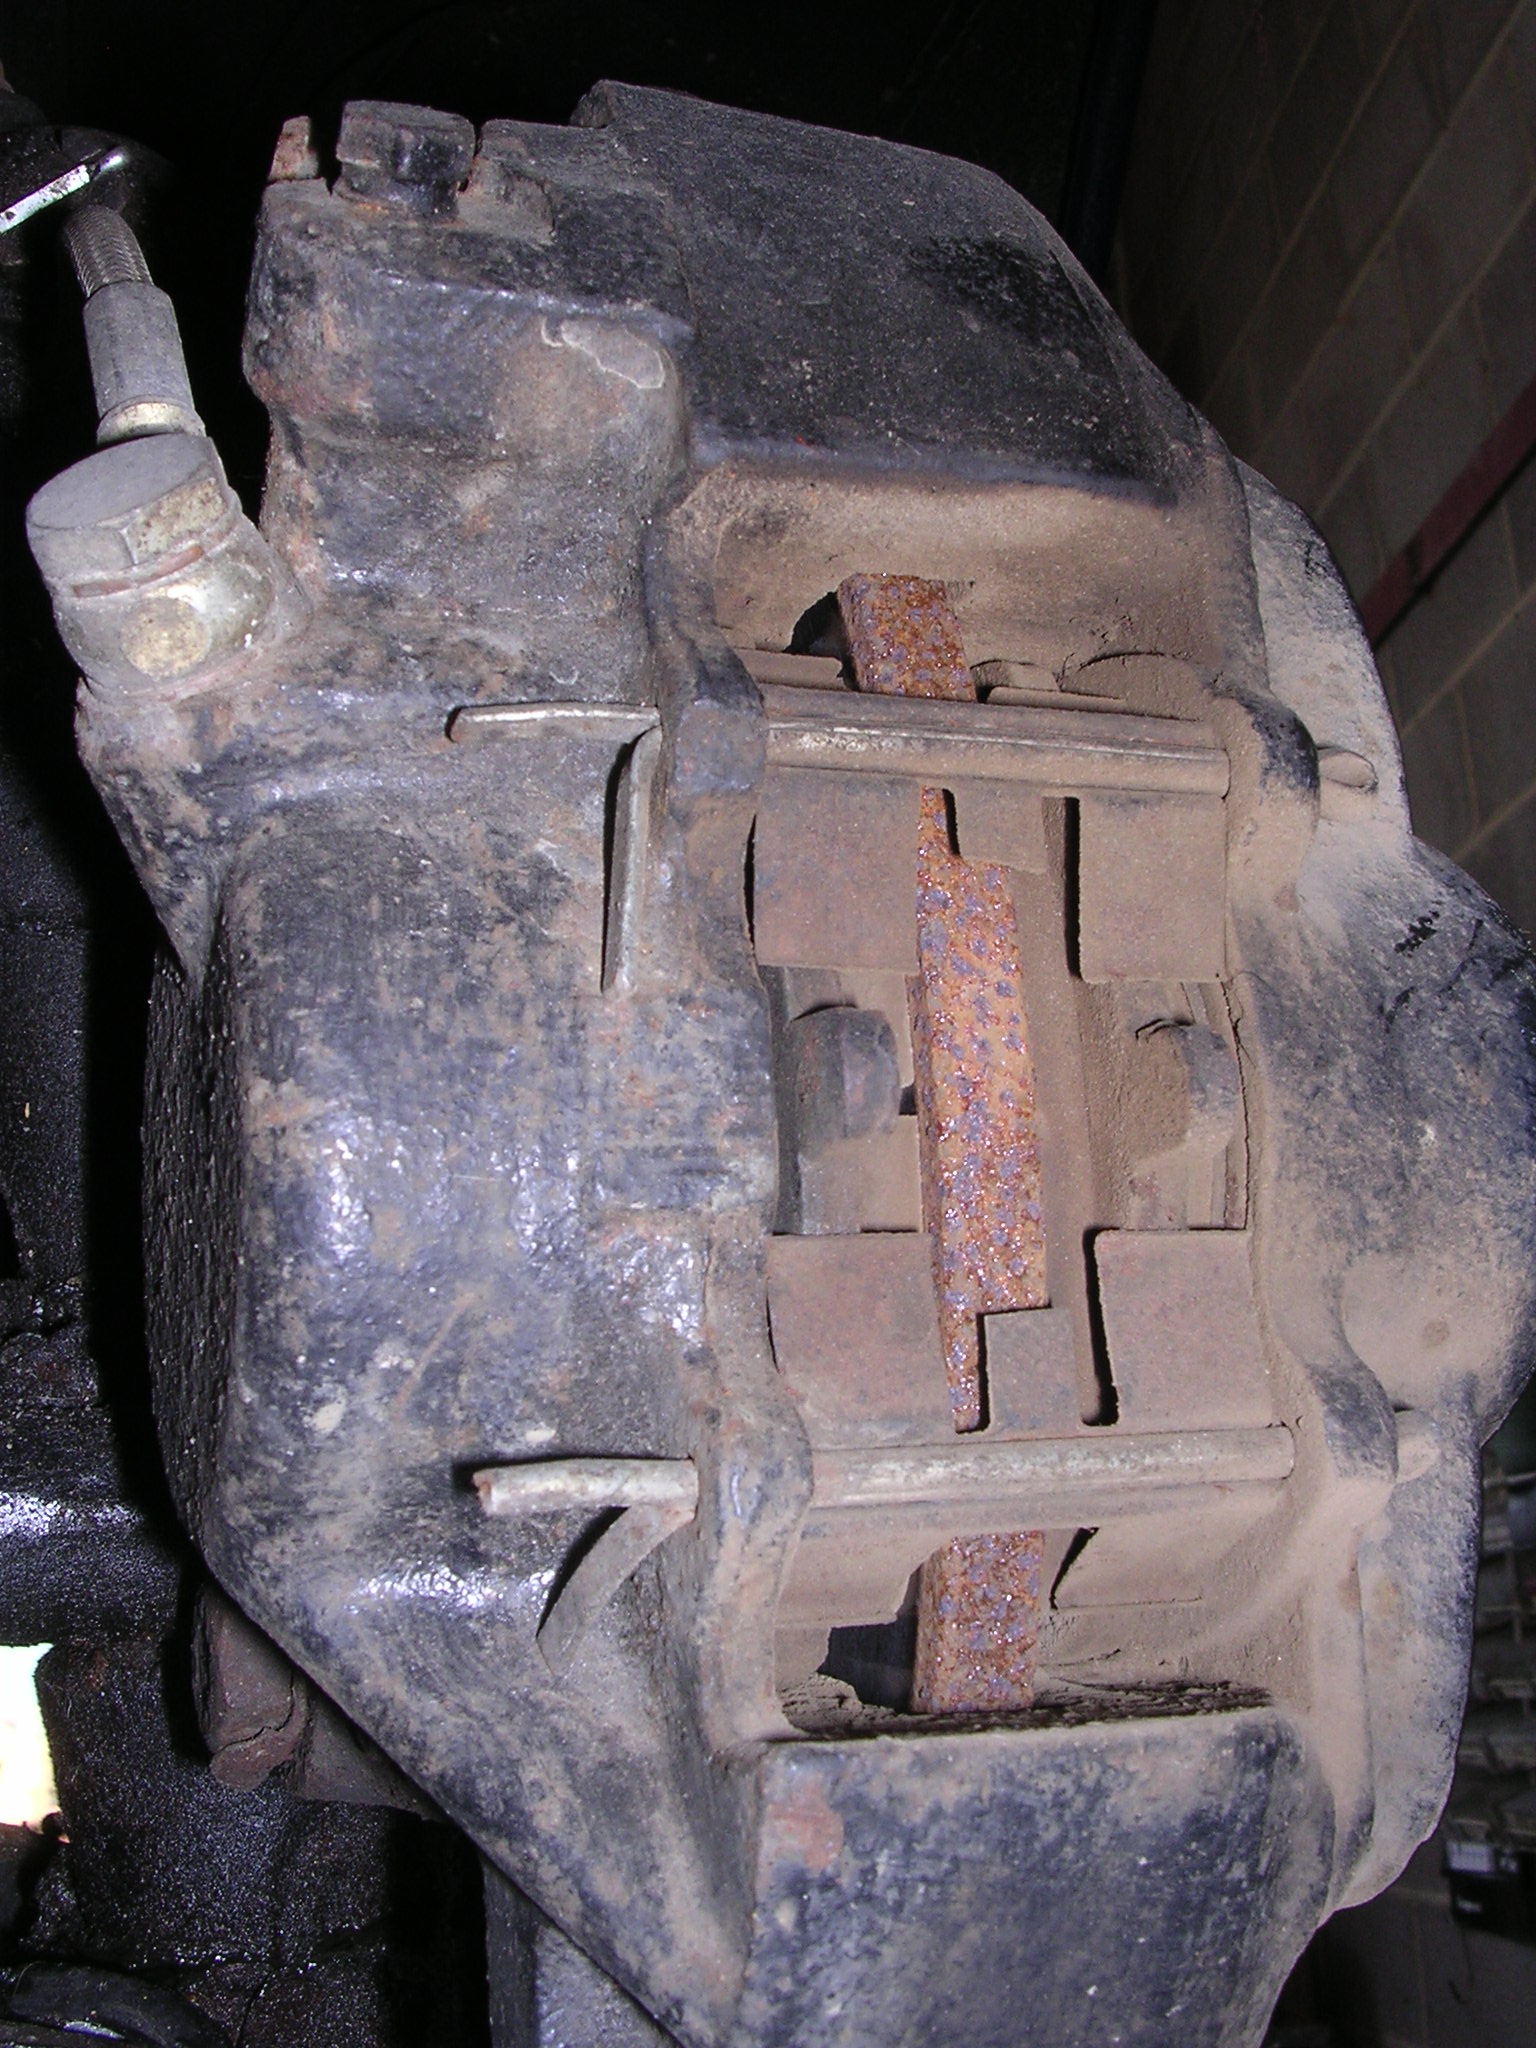
First, of course, you need to remove the wheels and starting with the front disc brakes turn the bakes so that you can check the condition and wear rate of the disc and the pads from the end view (above). Then examine the discs themselves, look out for any signs of excessive or uneven wear and any scratching.
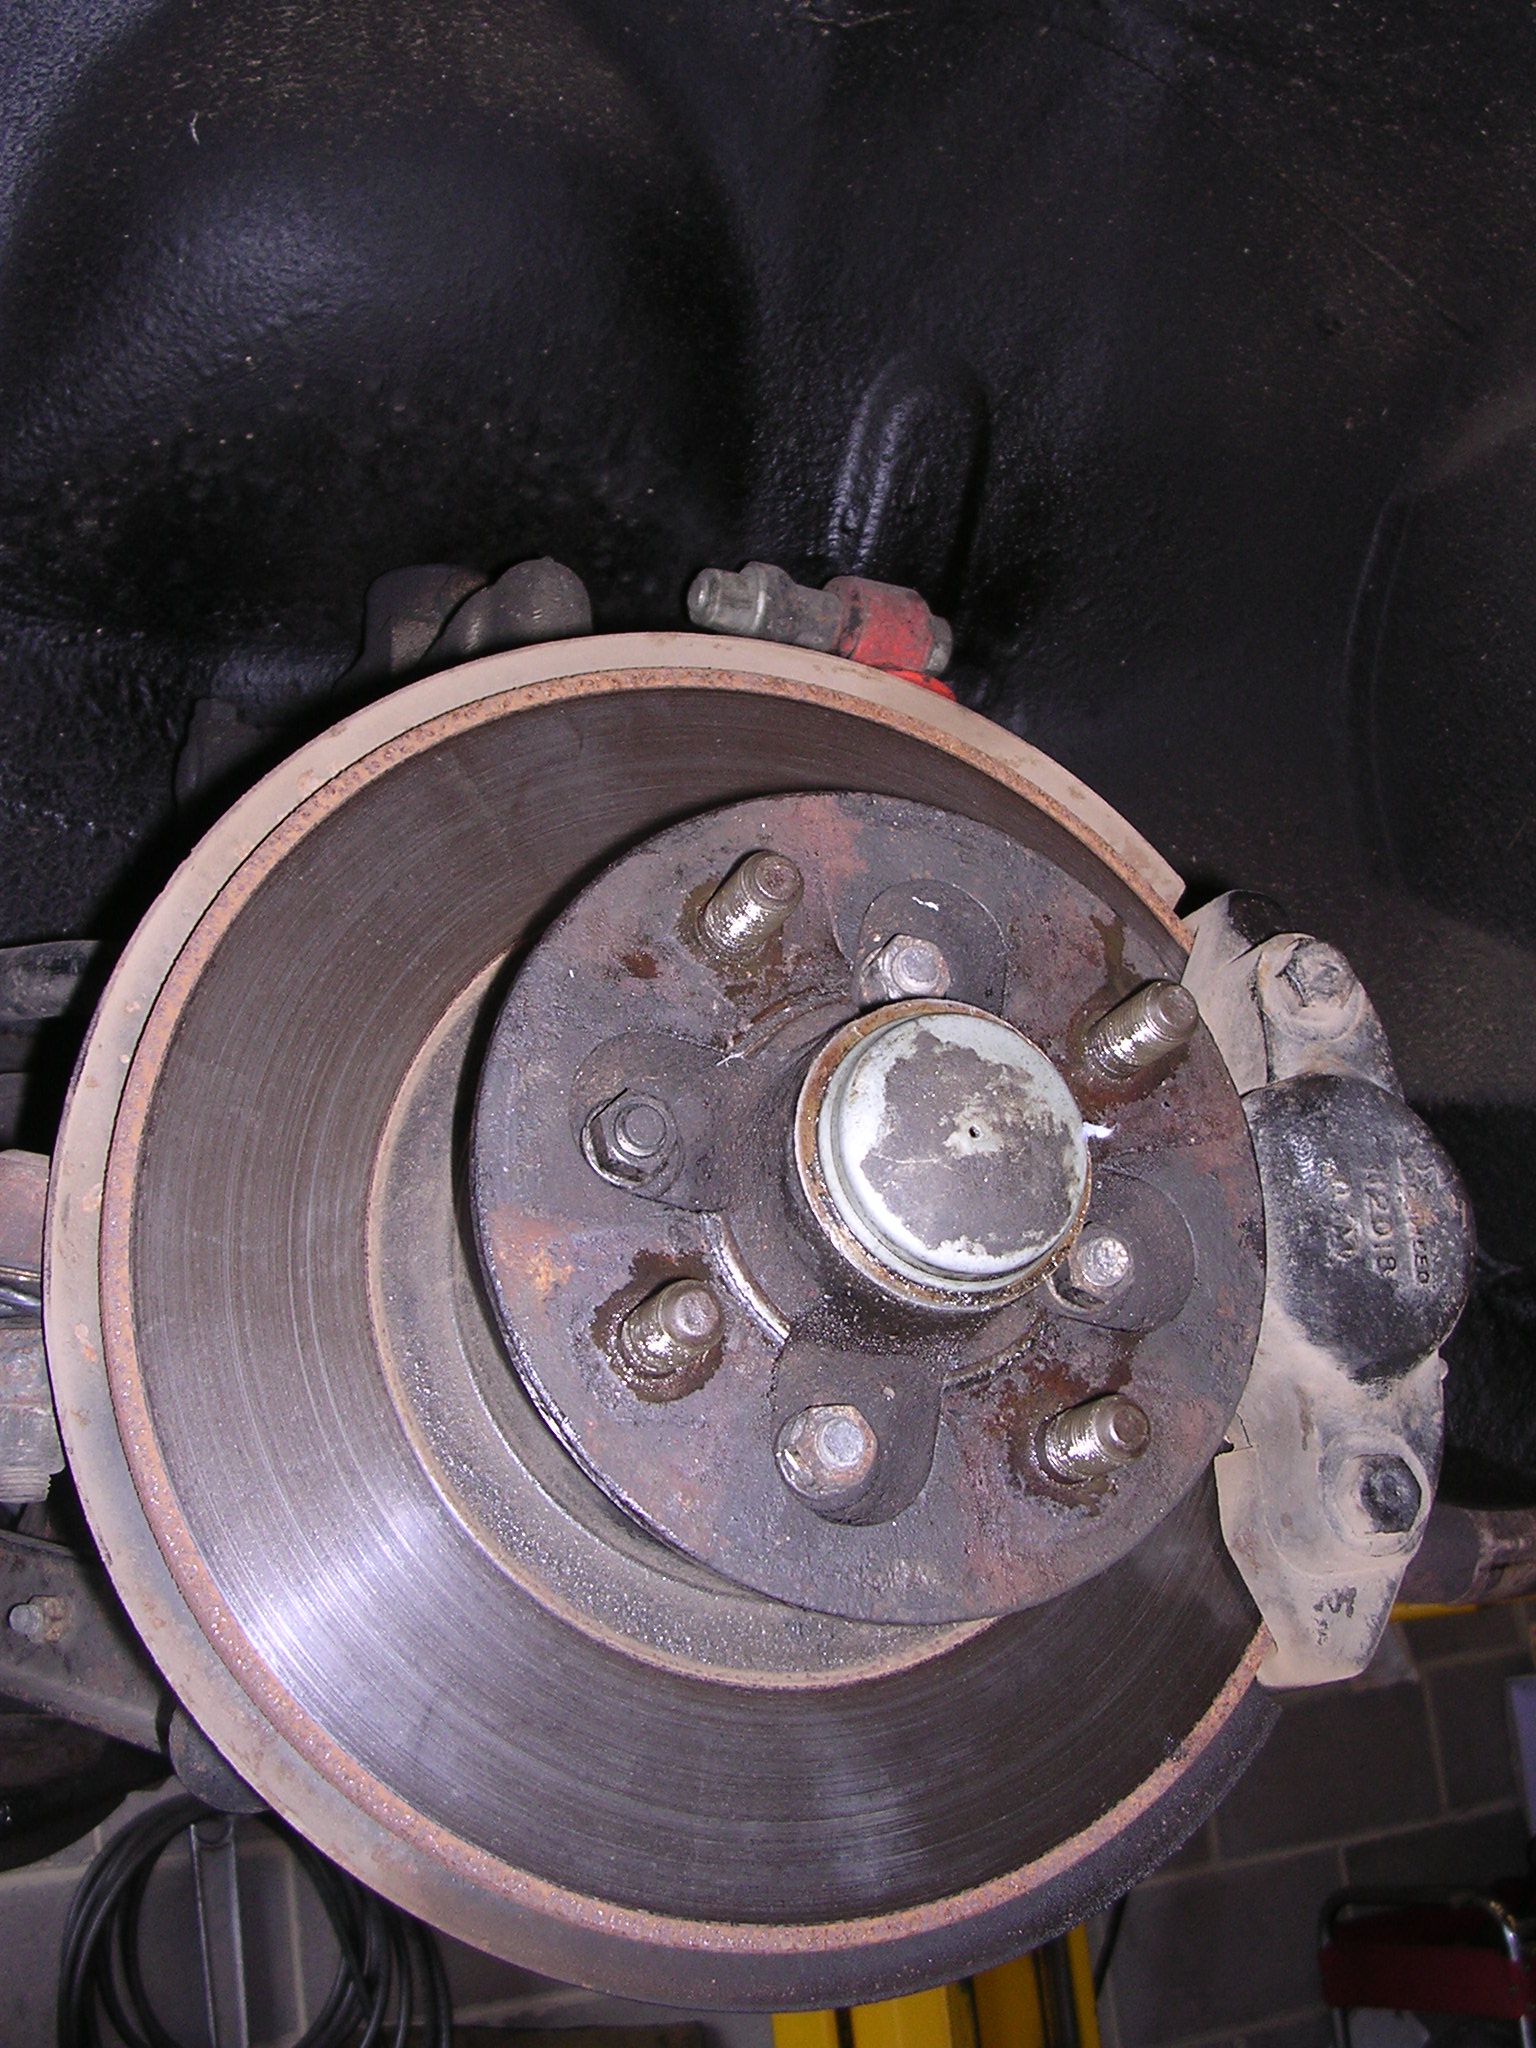
Where there is noticeable wear get them replaced or checked over by a qualified mechanic.
If possible and safe to do so in a raised position, ask someone else to operate the brake pedal to check that the pads are working properly.
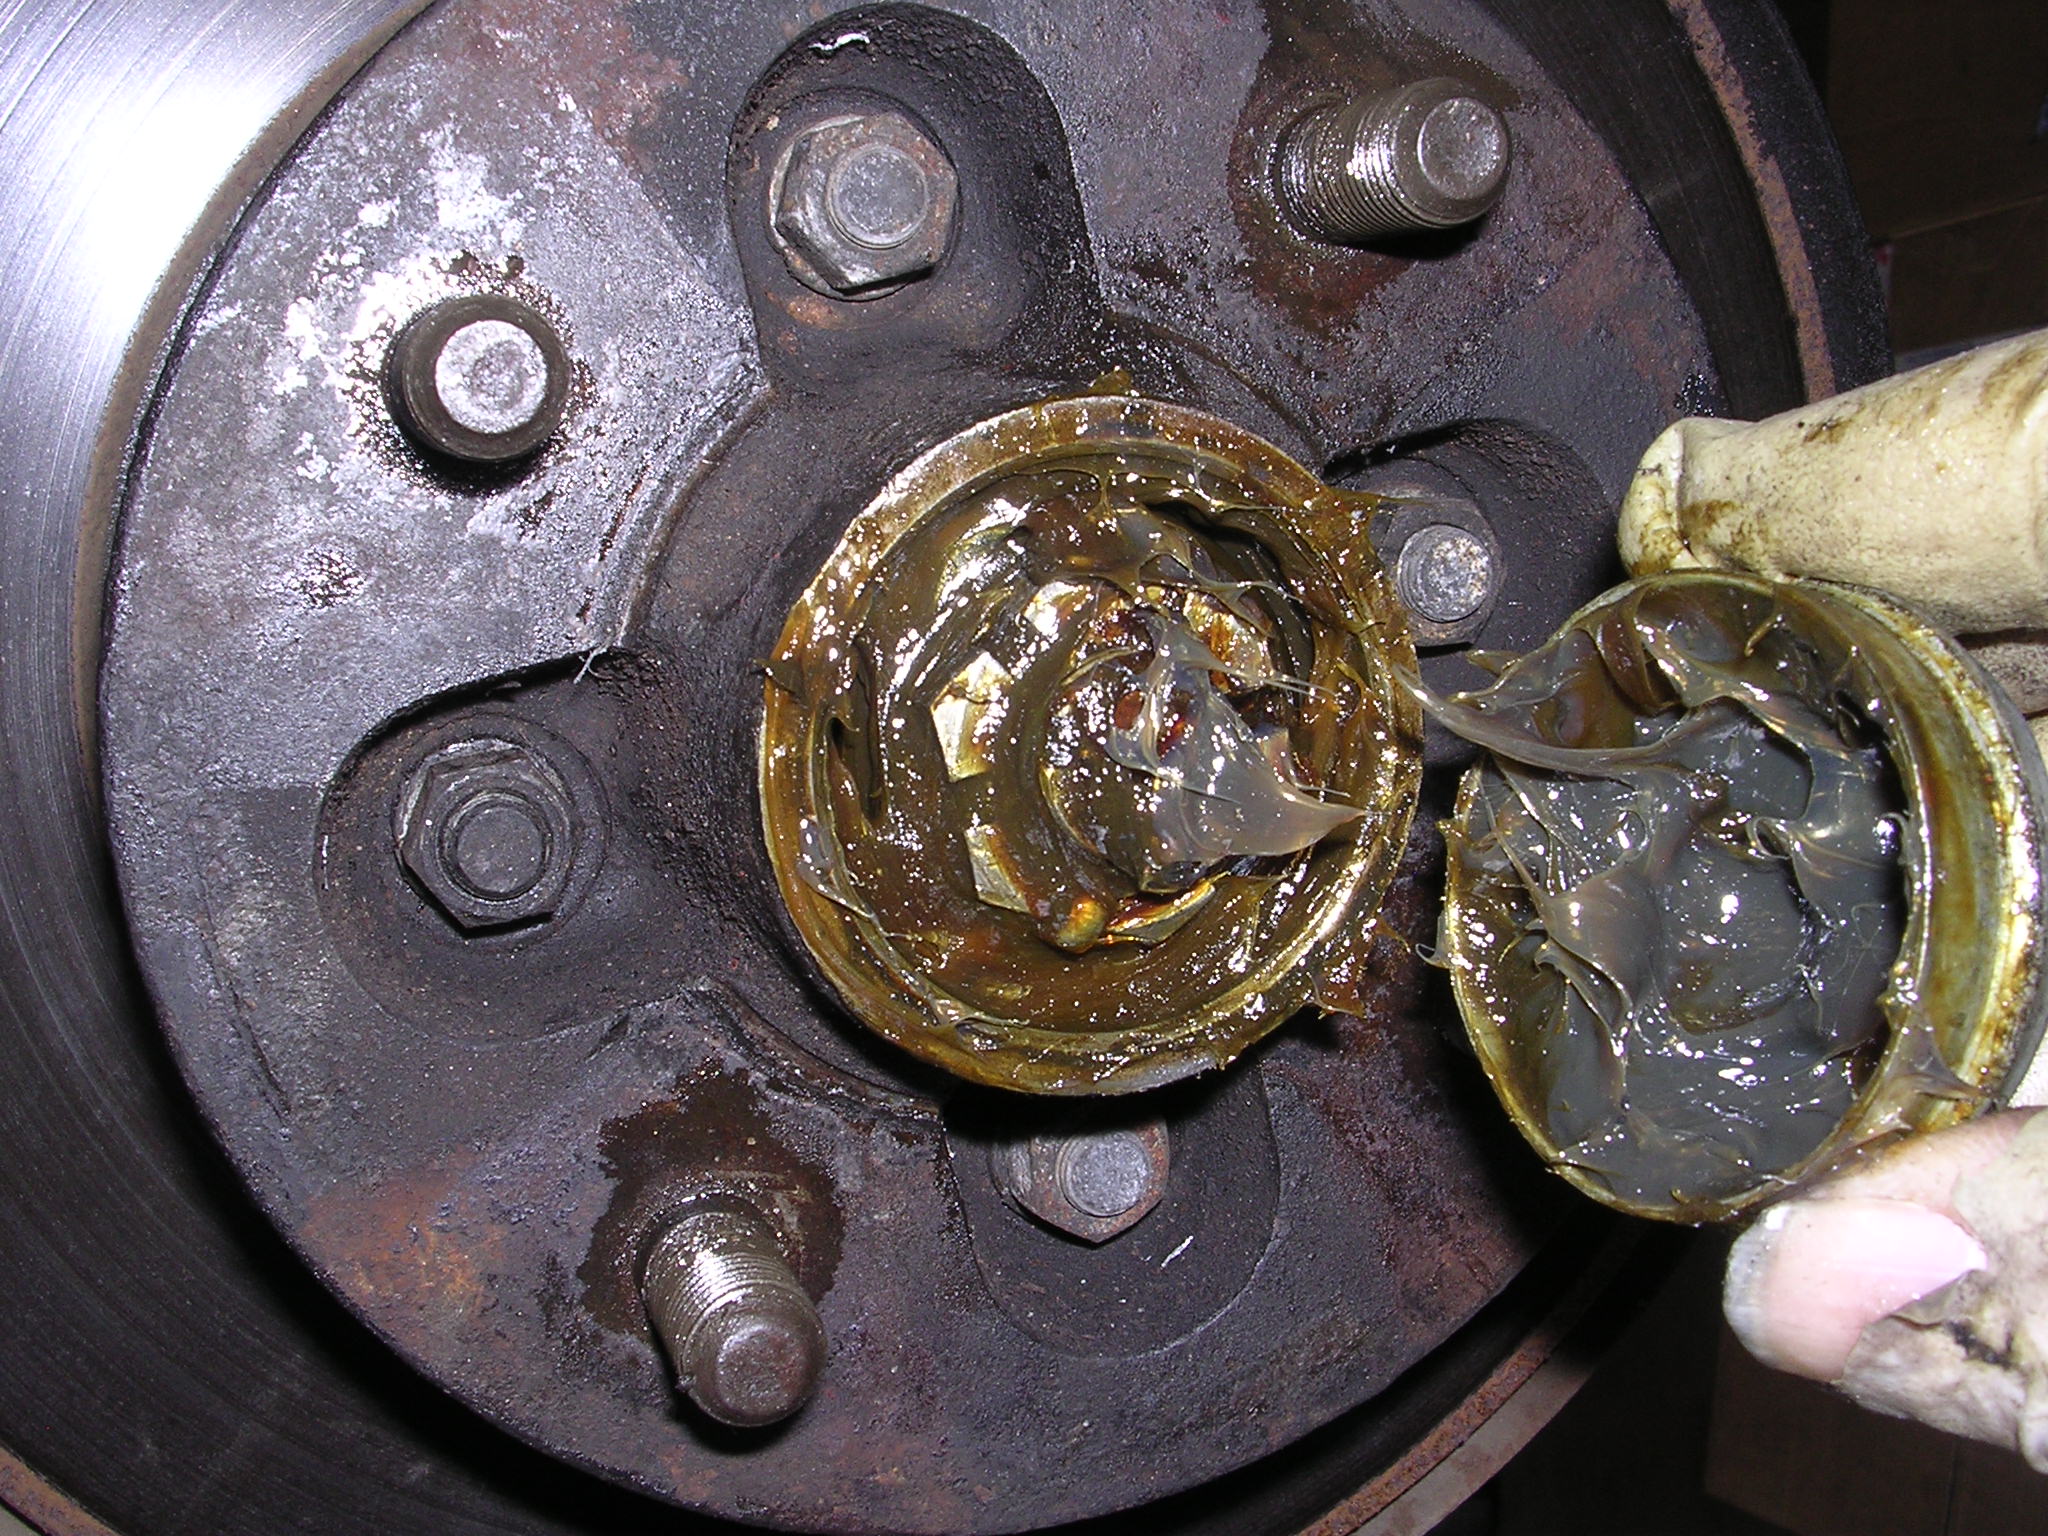
Before replacing the wheels tap off the grease cover on the central wheel bearing and add fresh grease (above) before replacing the cap.
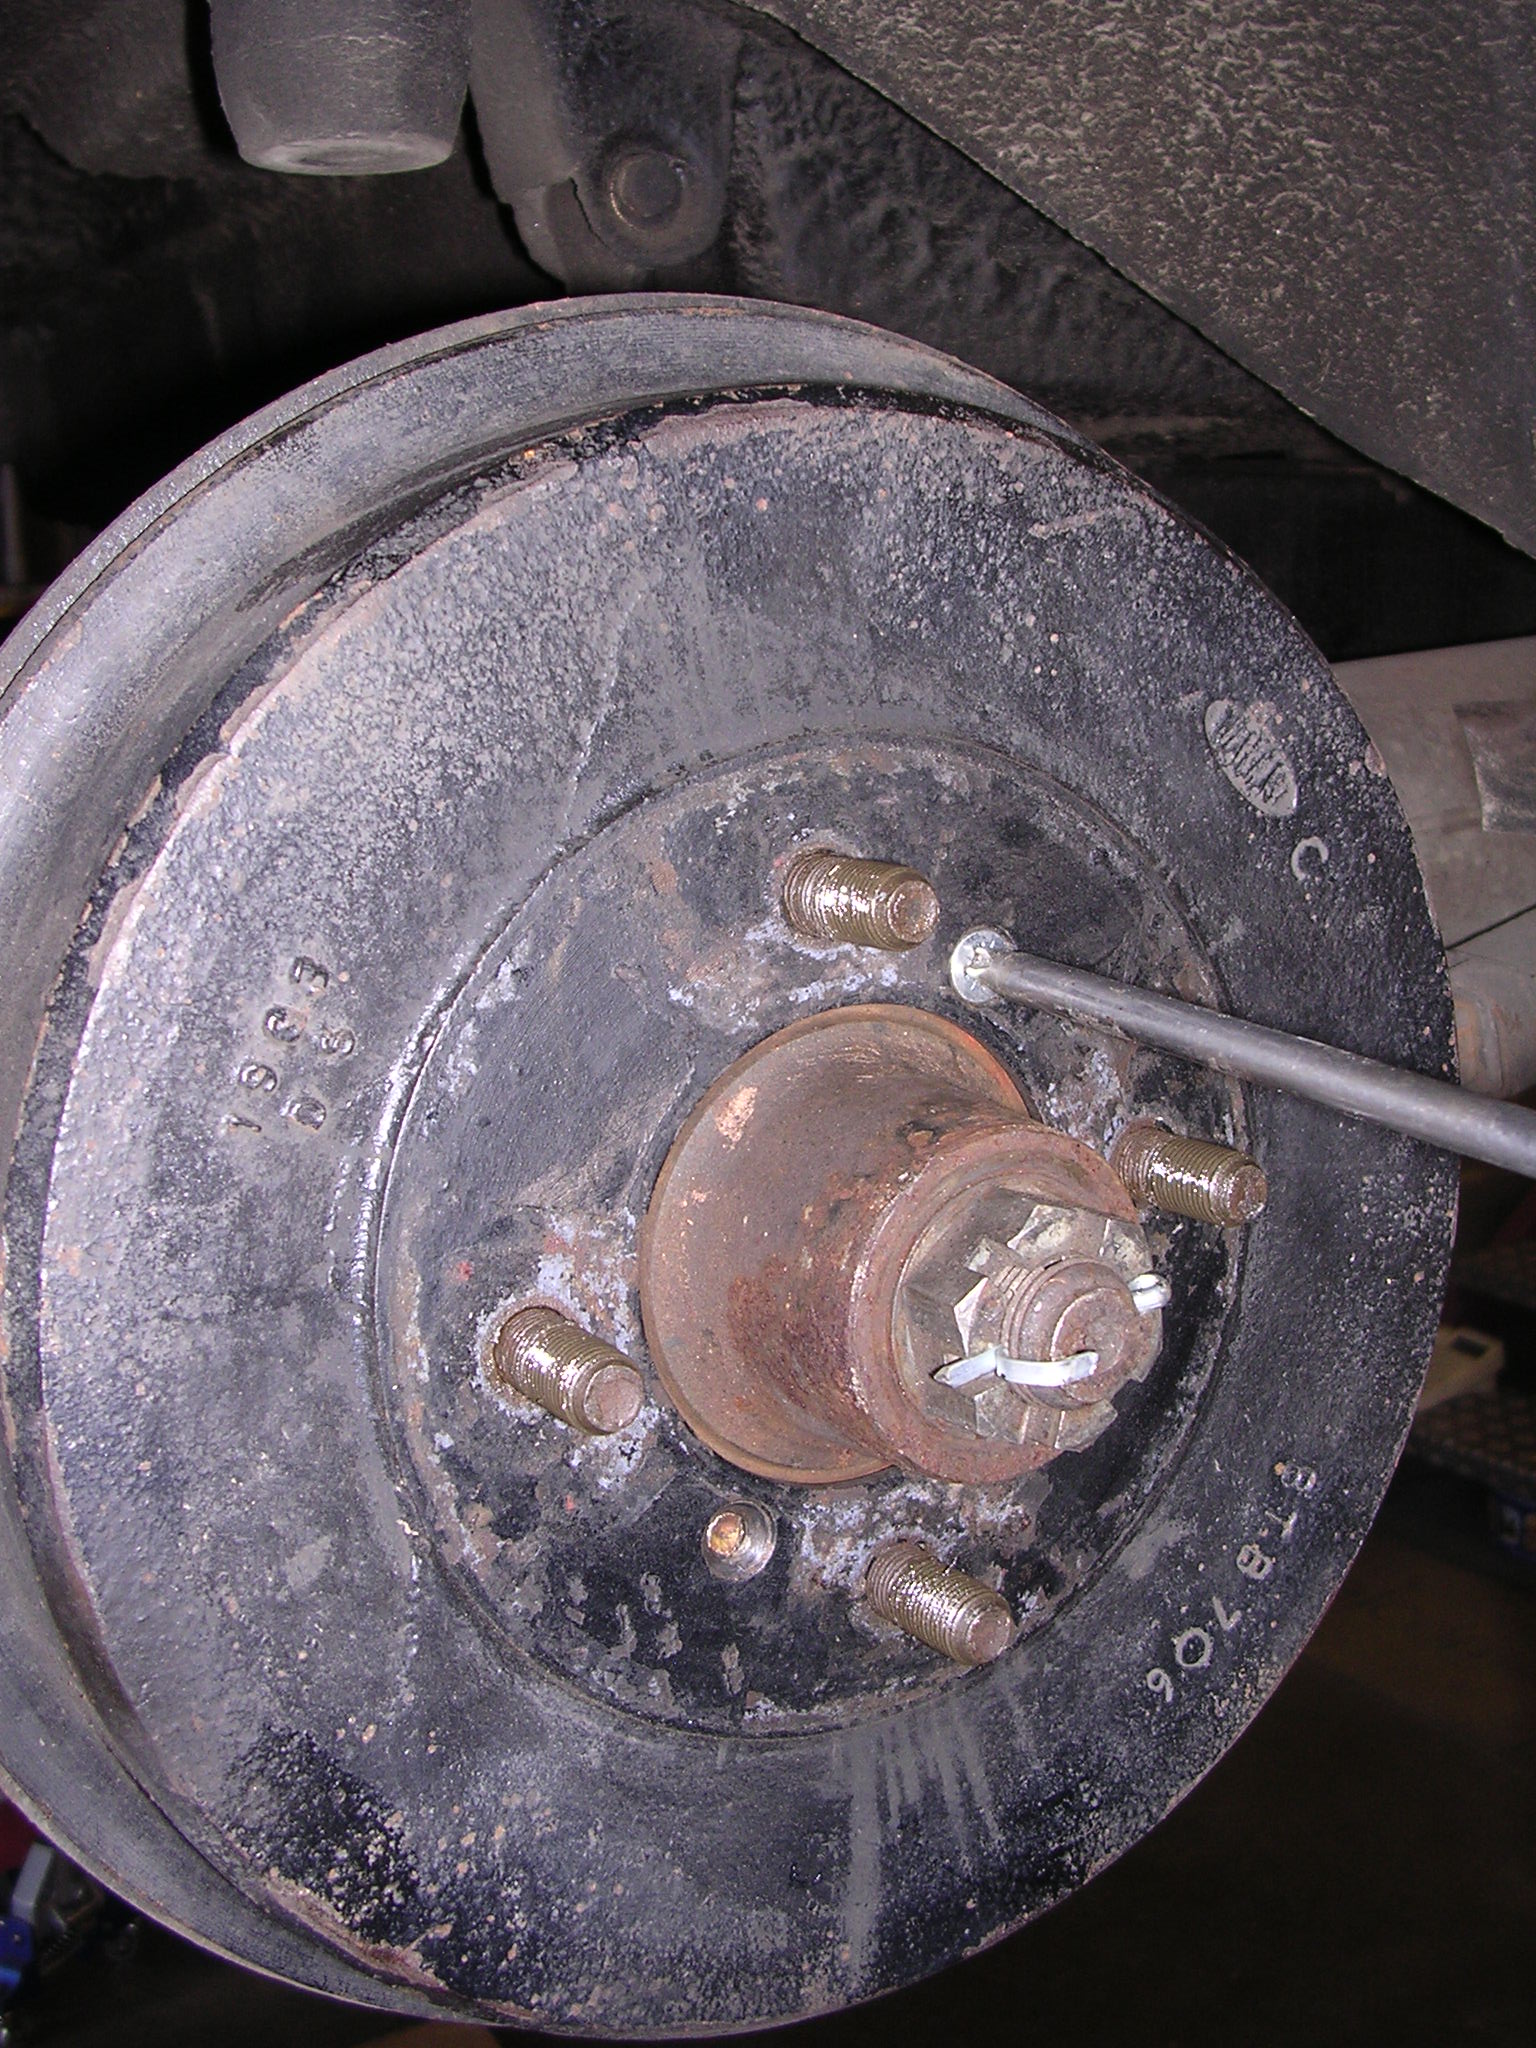
Moving to the drum brakes, having removed the wheels, release the securing bolts from the front of the outer drum and slacken off the brake adjuster bolt behind the drum. This can be difficult to locate and needs a small spanner.
This should release the drum allowing it to be removed so that you can check the thickness of the shoes and their linings. Most shoes feature a wear indicator which helps identify when they have reached the end of their usable life.
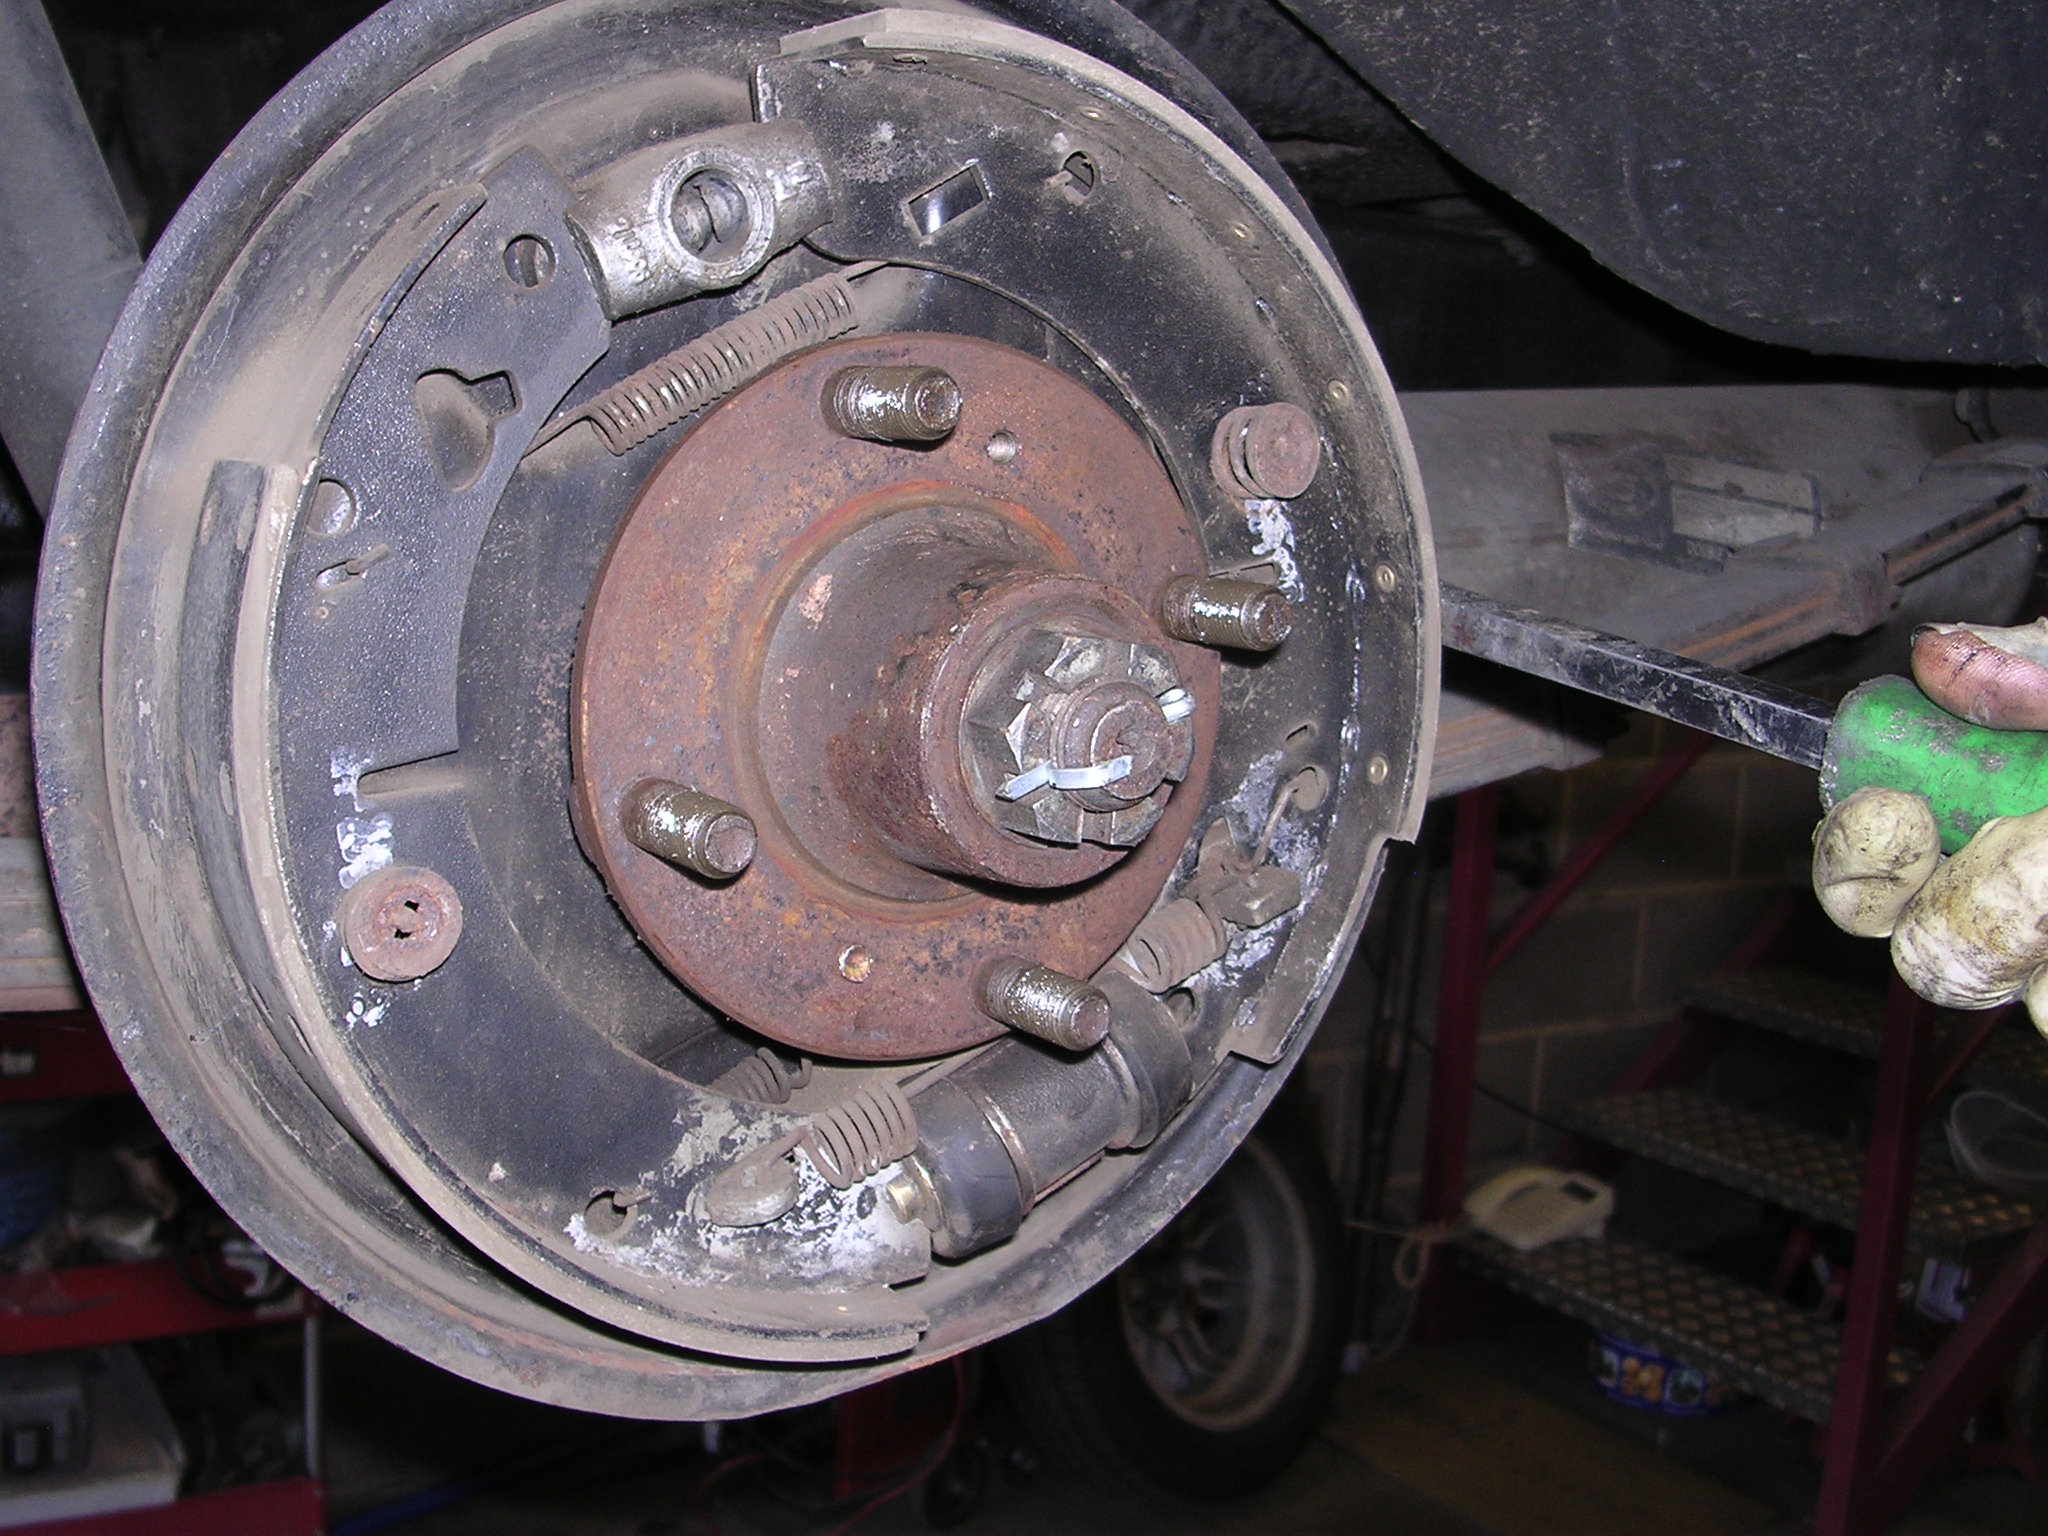
Use a large screwdriver or metal bar (above) to move the shoes backwards and forwards to ensure that the brake pistons are operating correctly. It there is a lack of movement this could mean that one or more of the pistons has seized and will require remedial work.
Also look out for any signs of leaking or perishing on the pistons by lifting up the rubber outer covers.
Next check the condition of the drum itself for signs of excessive wear or damage. You may need to use a cleaning spray to remove any accumulation of brake dust.
Before replacing, use a fine emery cloth to clean the drum interior and the shoes to give an even finish and, at the same time, use copper grease to coat the wheel studs to prevent them sticking in the future.
Having relocated and screwed the drum back into place tighten the adjusting bolt behind the brake so that the drum is unable to move and then slacken off gradually so that is moves freely. As an added precaution grease the brake adjustor nut before replacing the wheels – using this opportunity to check the tyre pressures.
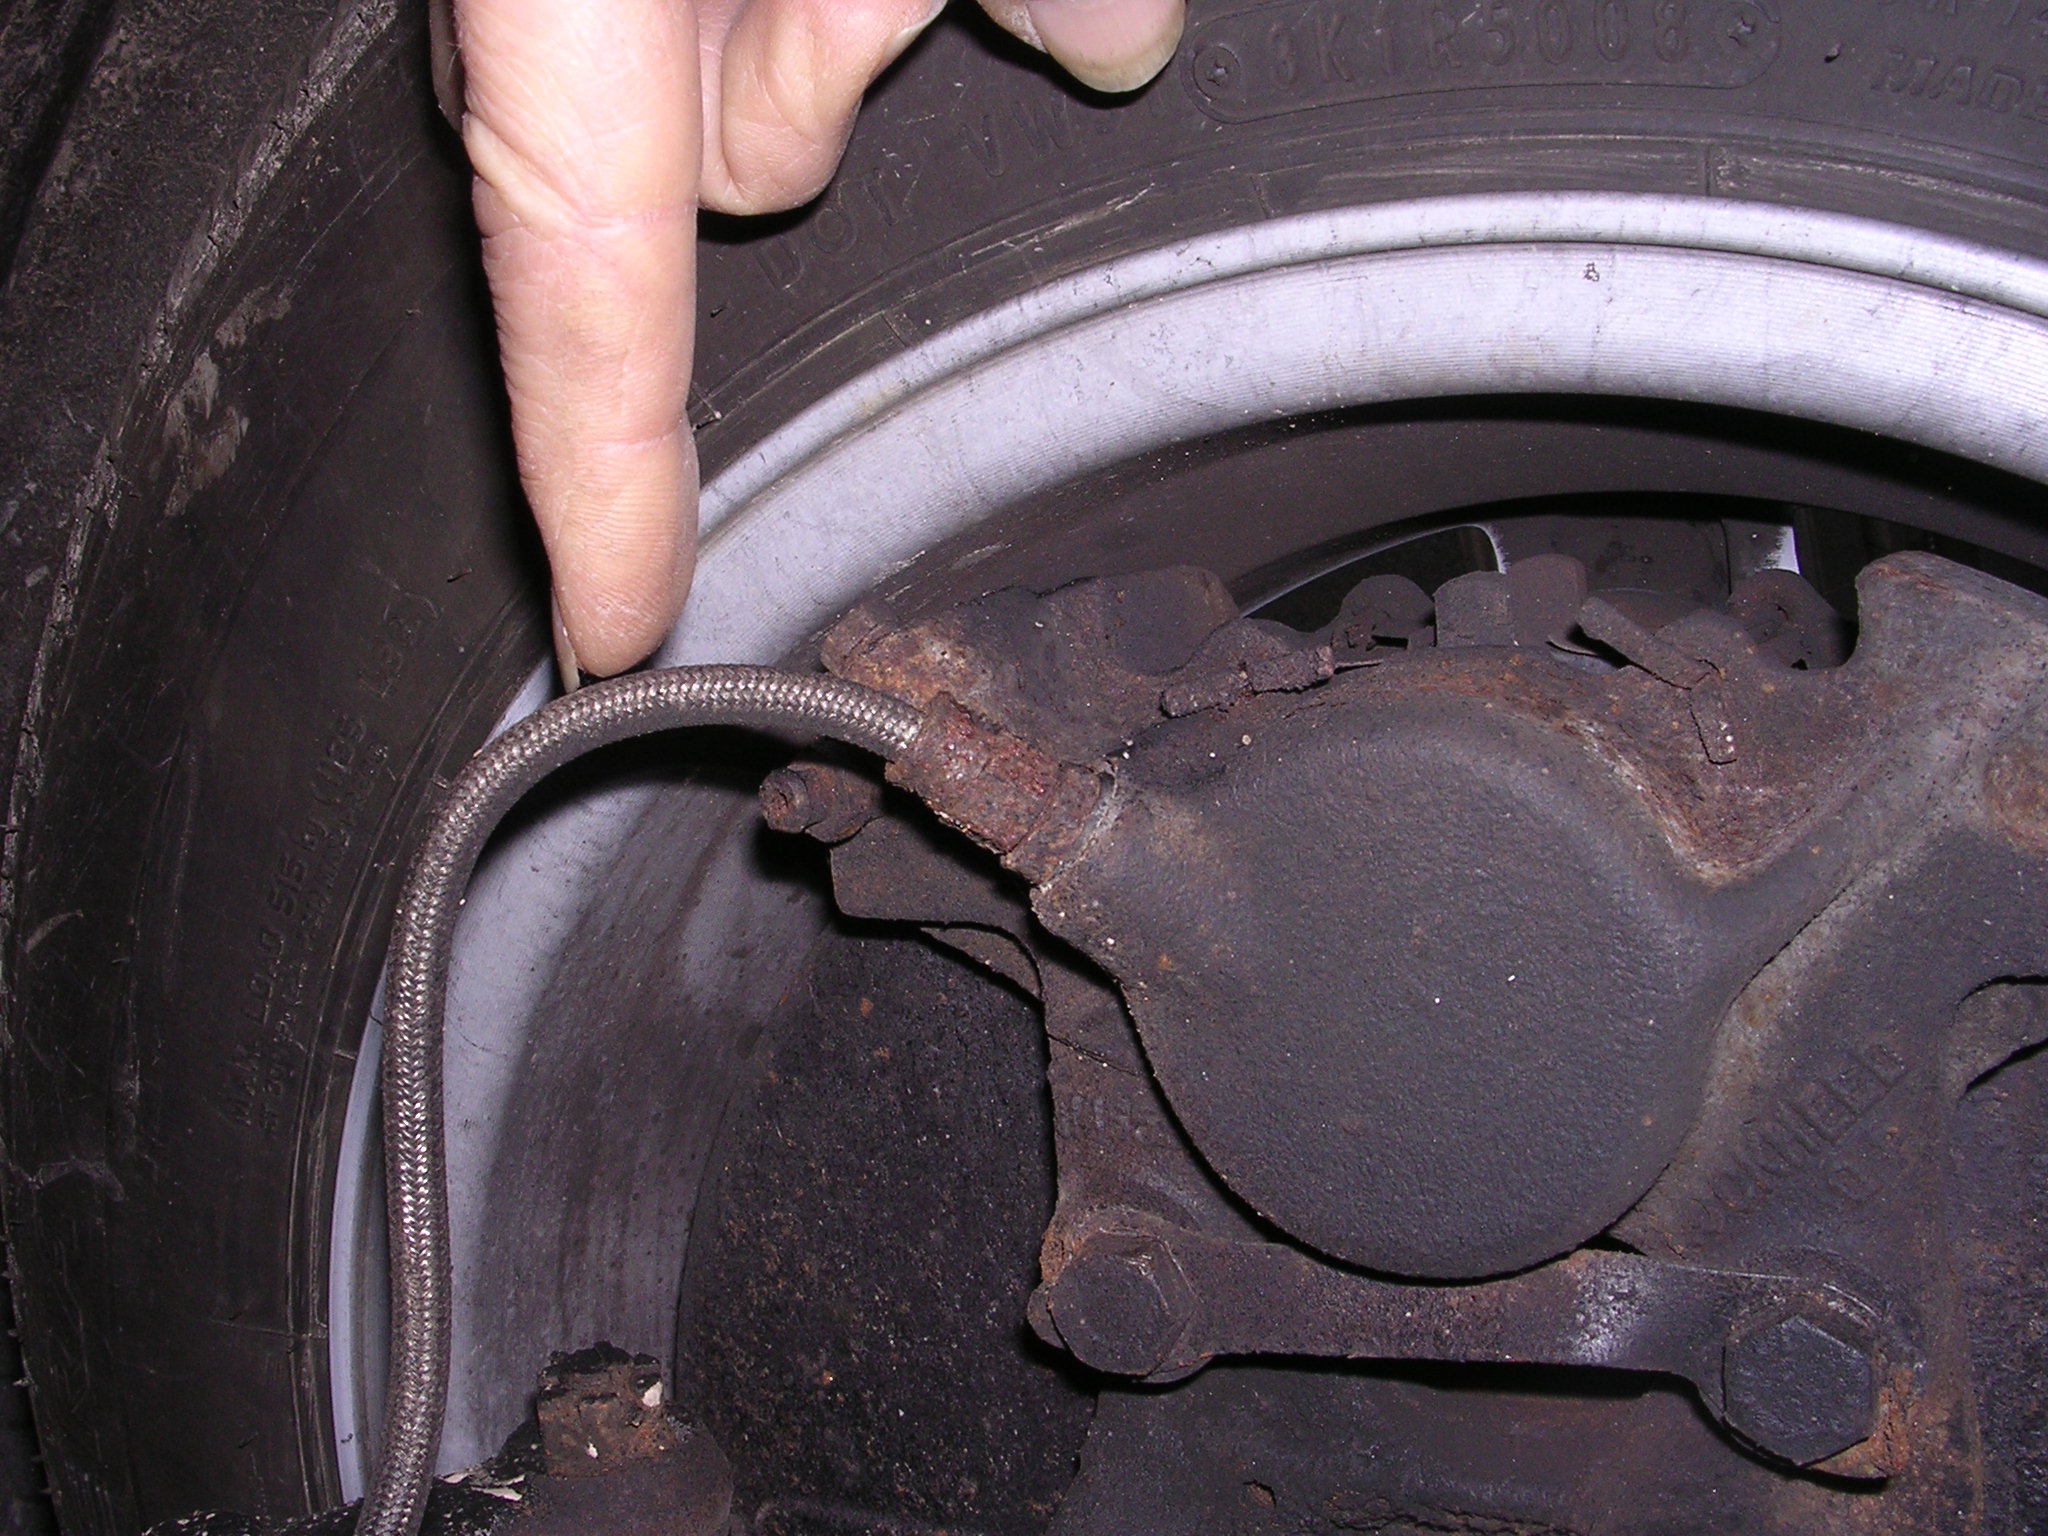
With the car in a raised position this is also the opportunity to check the condition of the brake hoses, cables and levers for wear and any leakages.