
One of the Achilles heels of nearly all classic MGs is the electrical system and a major centre of attention is the distributor and its various component parts.
Fortunately, says Roger Taylor, accessing the distributor and changing parts is not only one of the simplest and quickest of tasks on an MG but also one of the cheapest.
A problem is normally indicated by a misfire or a complete failure to proceed and may only be resolved by a gradual process of elimination.
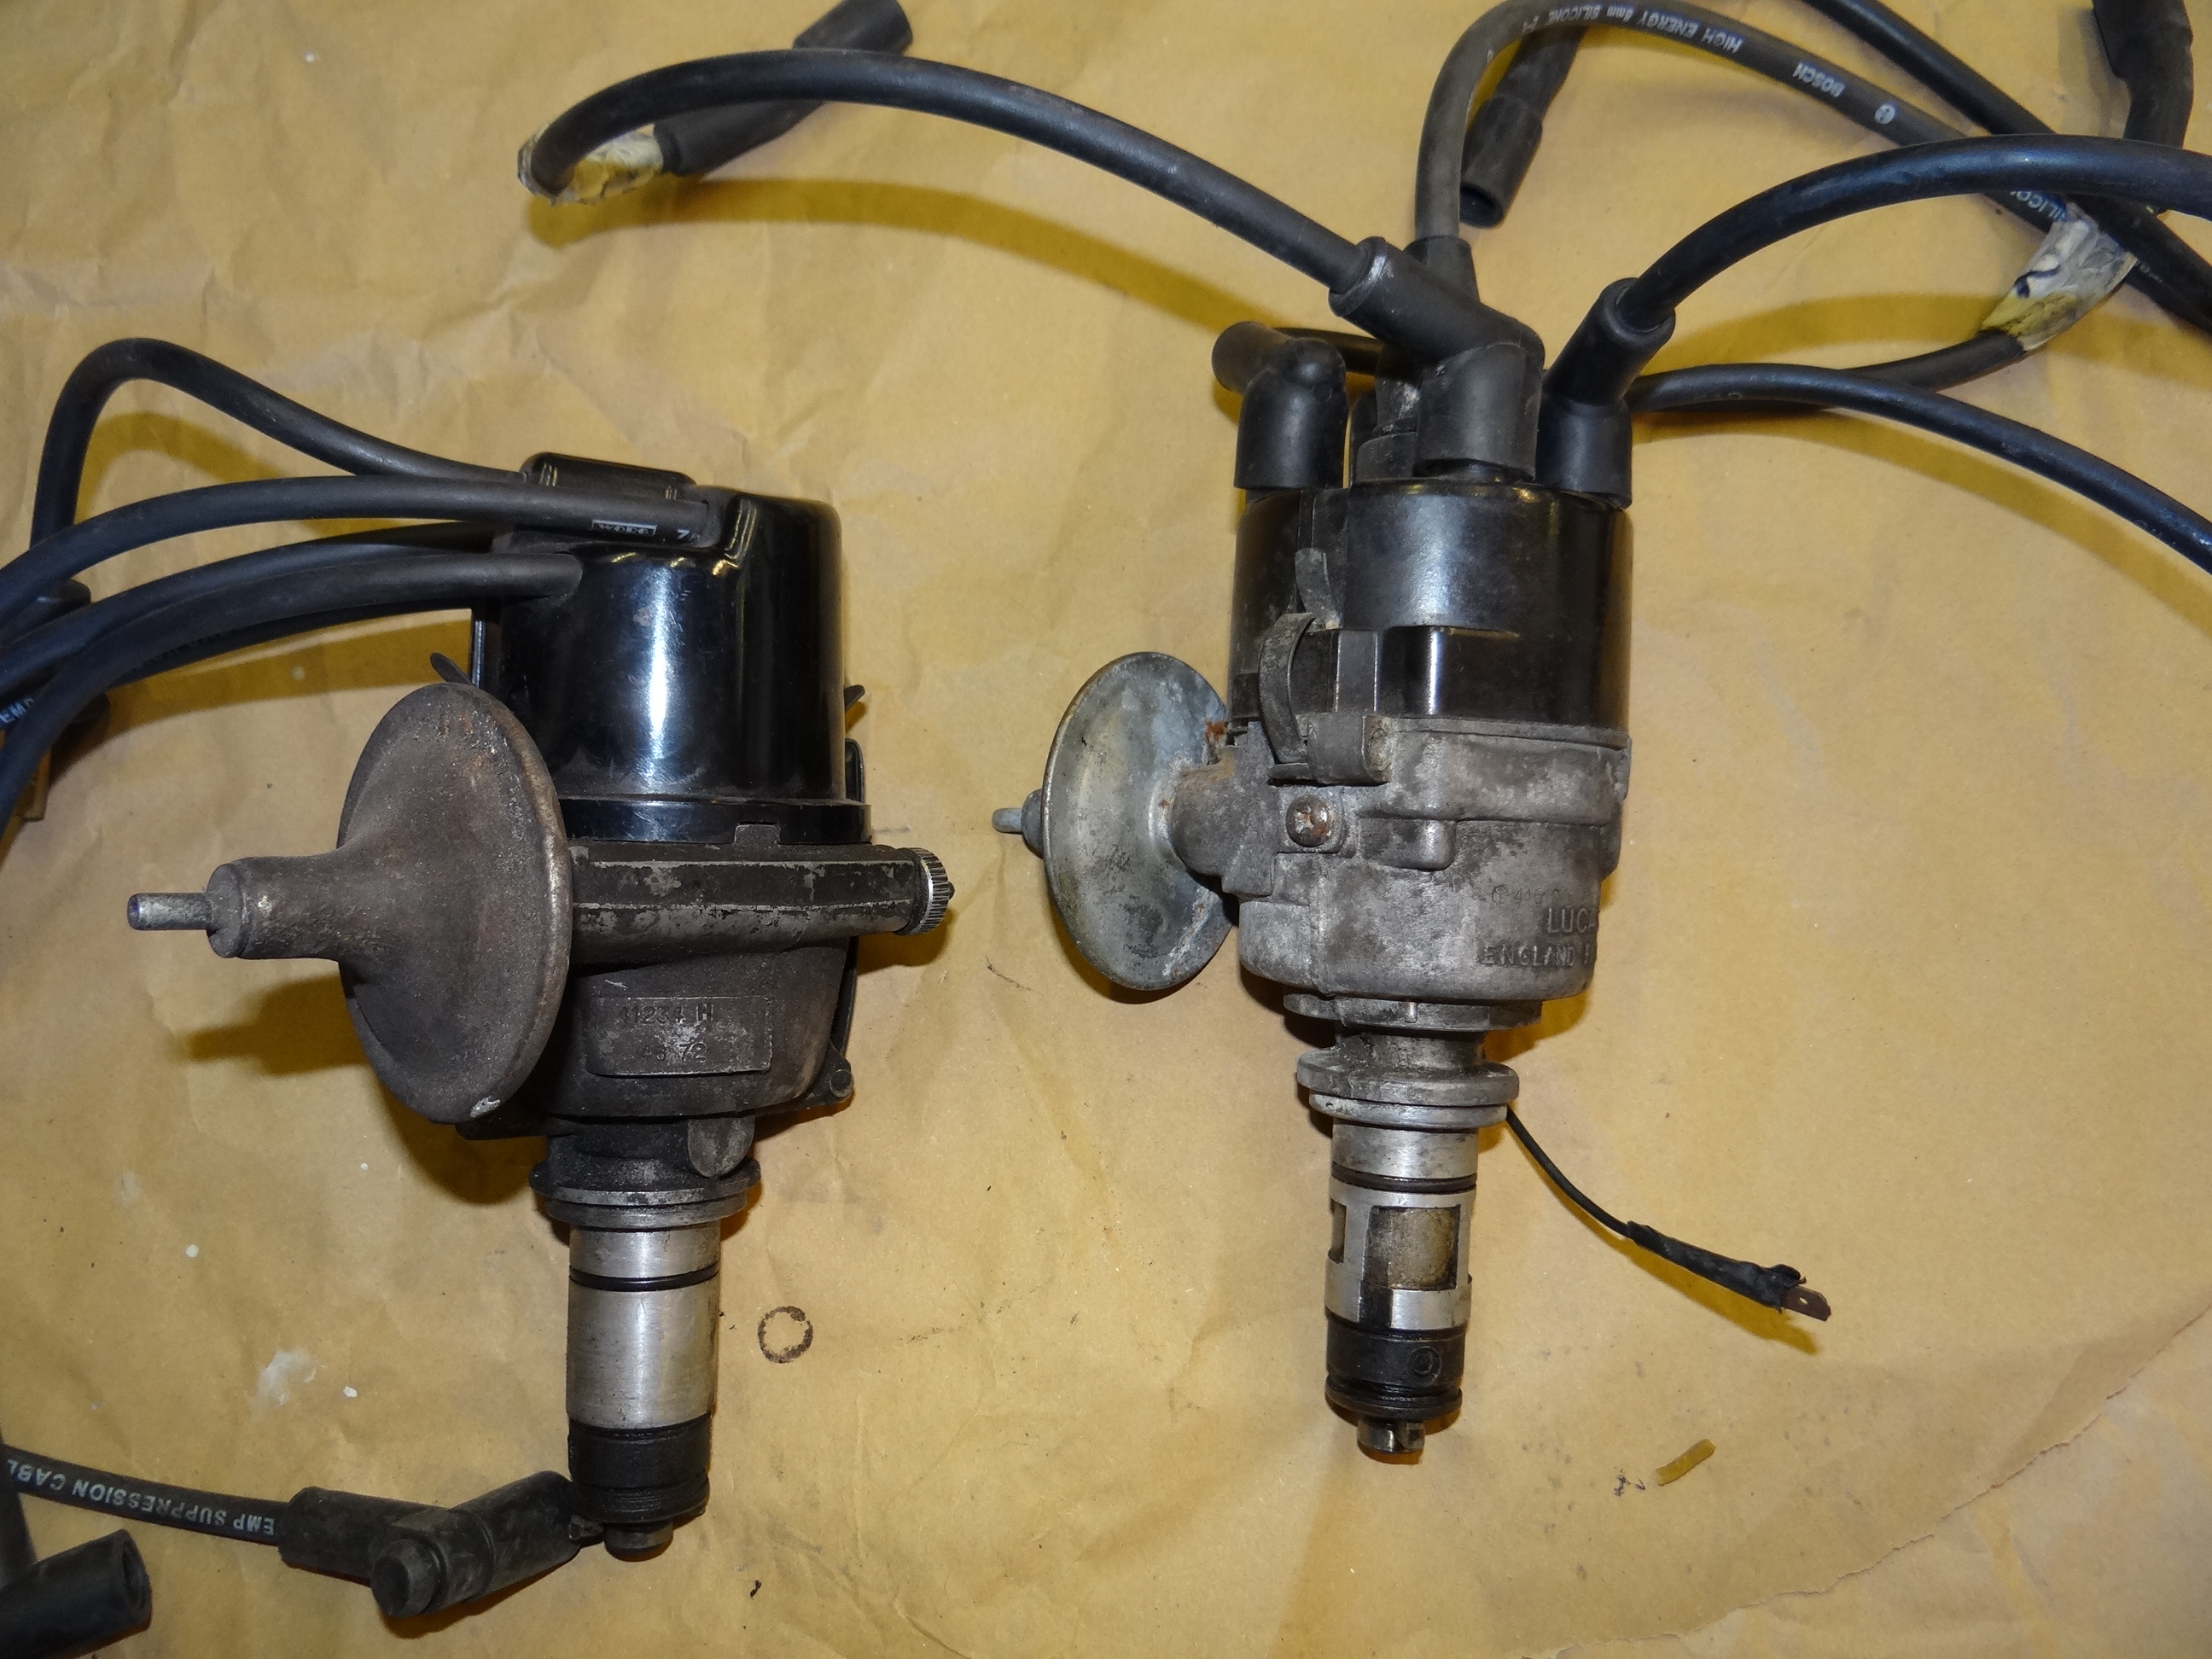
Having identified the likely course of the fault as in the area of the distributor, the first thing you will need to do is remove the unit. On older models this will probably be the 25D (above left) where the HT leads enter the distributor cap from the side or, in later models, the 45D (above right) with the more common leads entering from the top so as not to foul the steering rack.
However, some older models have been retro-fitted with a later distributor or cap so you may need to check which it should be with the handbook.
Having detached the leads from the spark plugs, next mark the position of the distributor before removing it so that it can be returned to its correct position afterwards which may eliminate the need to re-set the timing.
Roger recommends a dash of white paint or a marker on the side of the distributor in line with the middle of the securing clamp that holds it in place facing into the engine.
Once this is done you can loosen the securing clamp and then twist and remove the distributor as a single unit. Although it is possible to change elements in situ, Roger has found that the small amount of time taken to remove the distributor as a whole makes life a lot easier from there on as you can dismantle it on a workbench.
First thing to check is the condition of the HT leads themselves – looking out for signs of perishing in the rubber casing. Early leads had copper connections which can corrode and wear and these days are replaced with carbon and silicone components which are harder wearing.
Modern leads are also fitted with suppressors to stop outside interference. A set of replacement leads cost between £9 and £15.
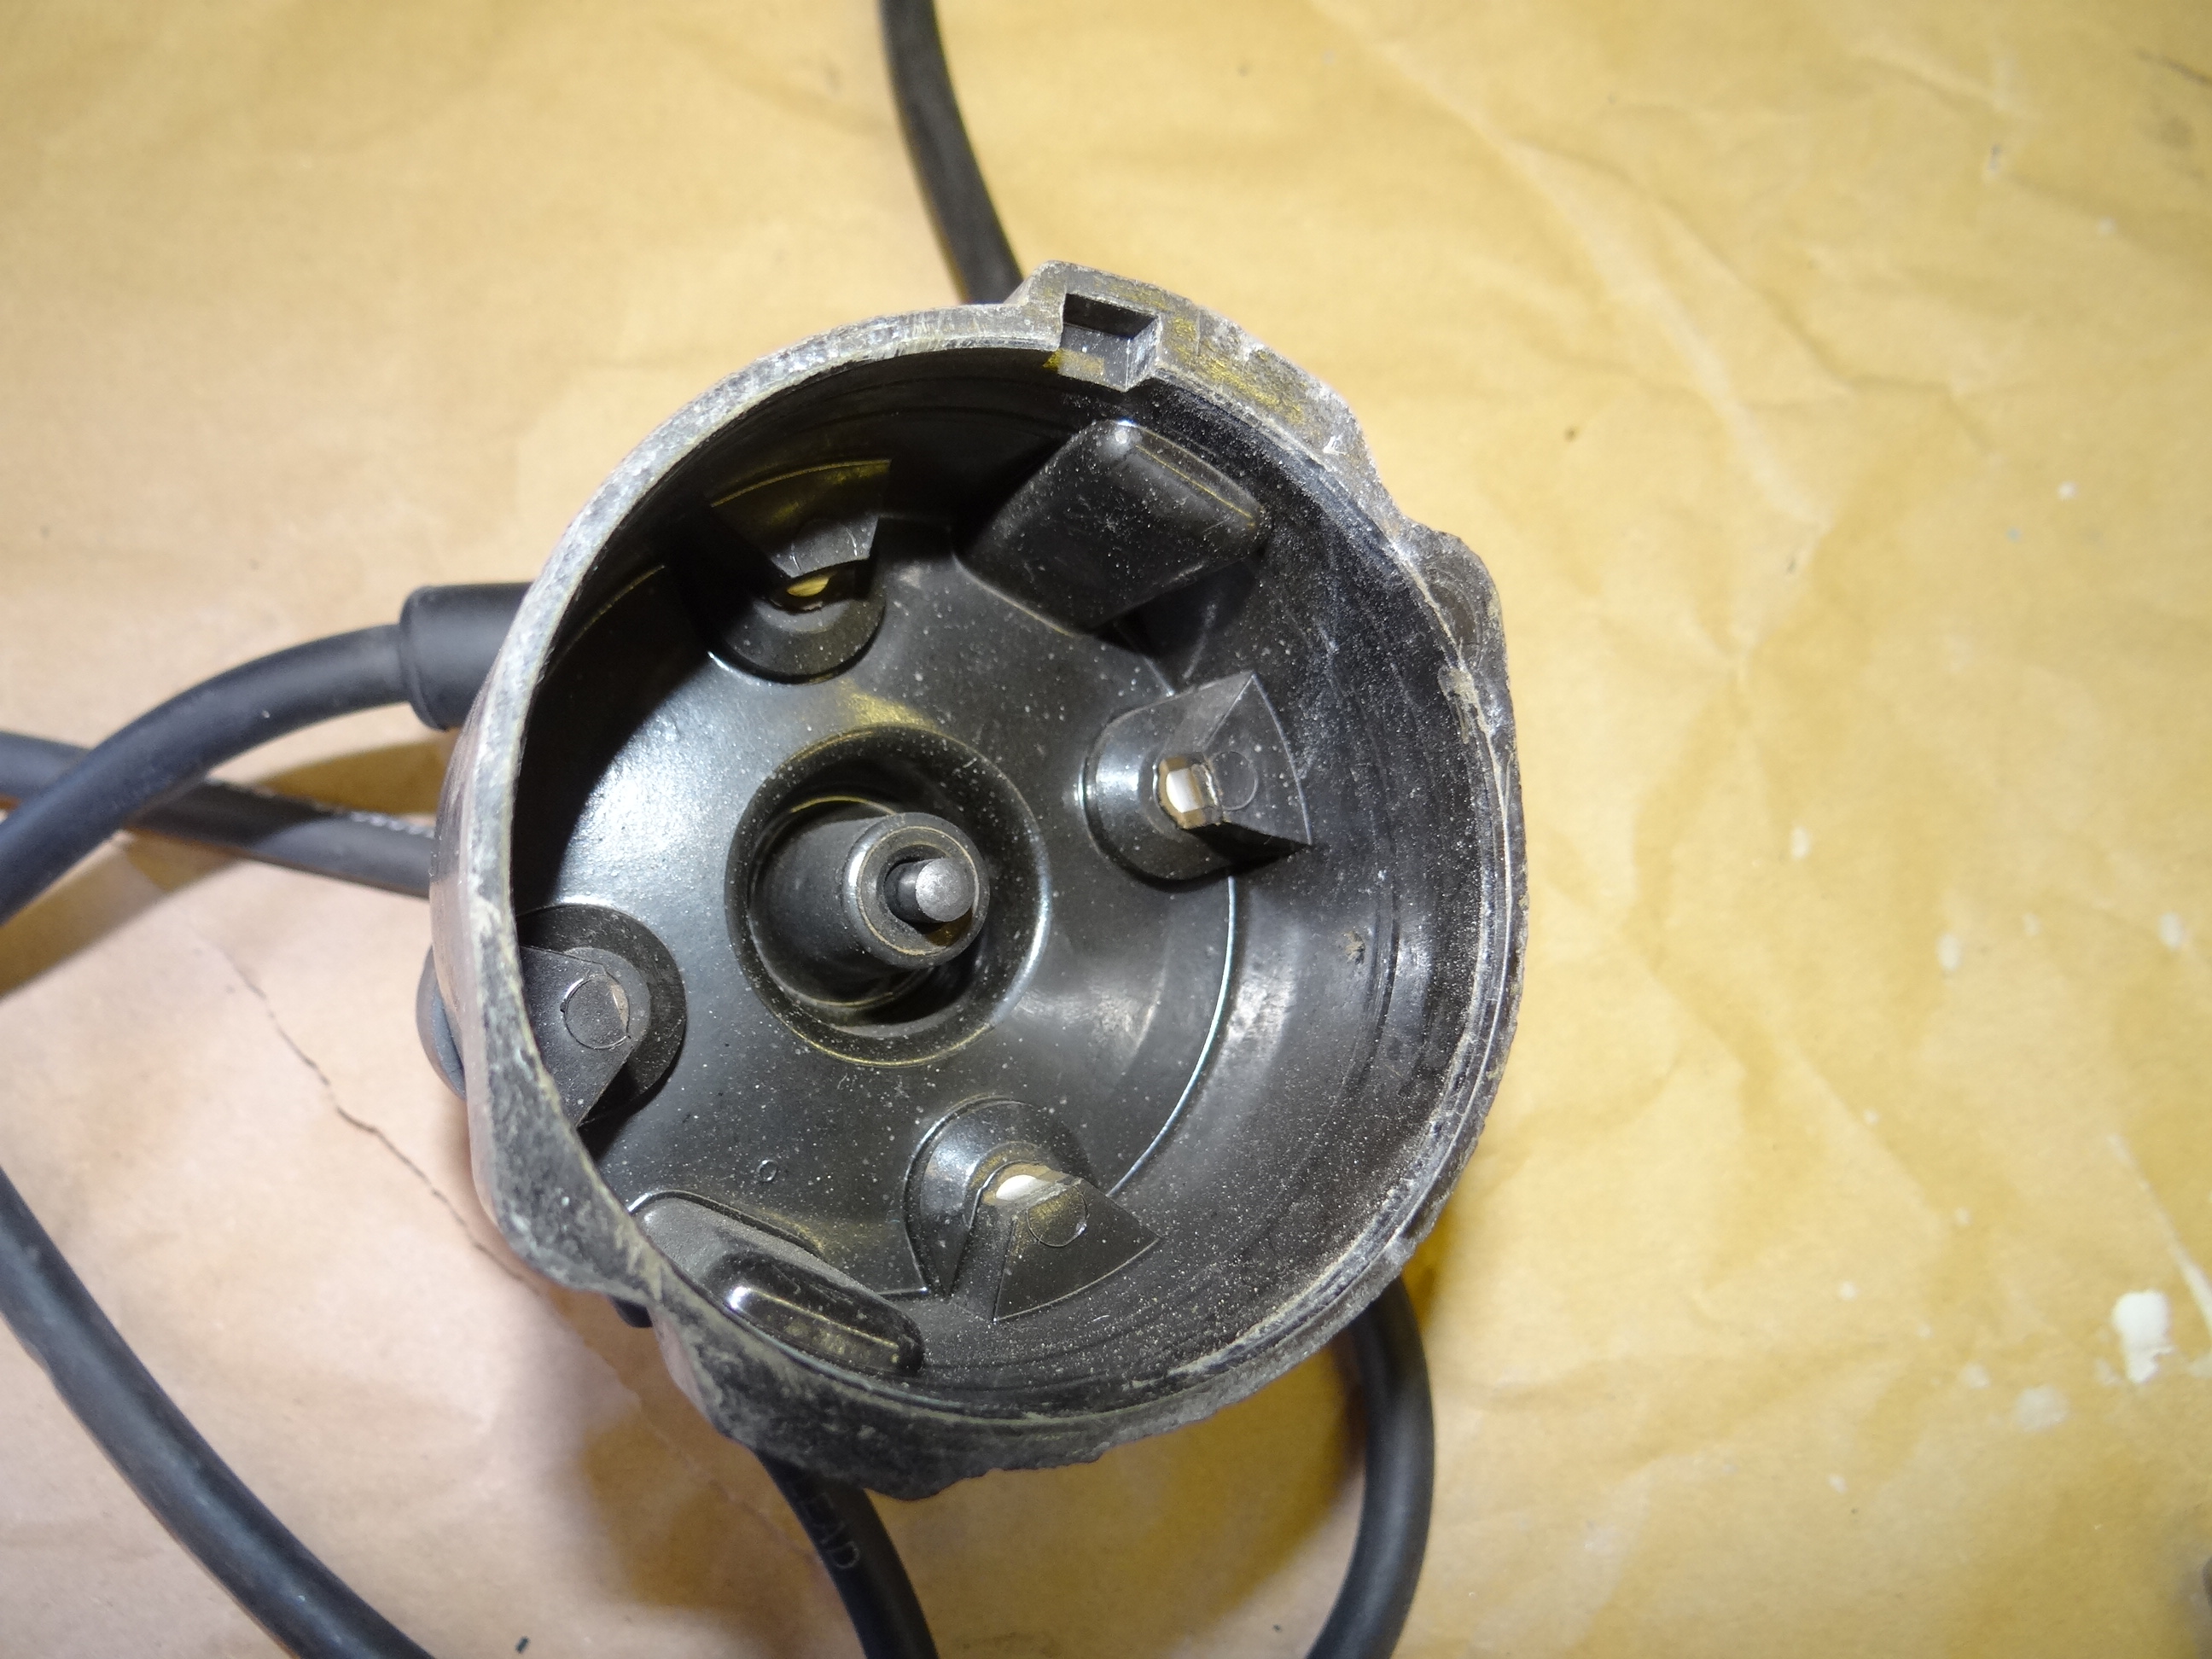
After the leads, the next item on your check list should be the distributor cap and here you are looking for any signs of cracking in the plastic case and indications of wear particularly on the sprung loaded central carbon pick-up which should have around a quarter of an inch of movement.
Examine the contact points inside the cap for any sign of excessive wear (above), burning and dark deposits which are a tell-tale sign of a problem – clean the pick-up points if necessary. Distributor caps have a long life if maintained but only cost around £6 to replace.
Delving into the top of the distributor a favourite problem item is the rotor arm which can cause a misfire when it becomes worn especially if there has been arcing which results in burning – the copper edge of the rotor should be bright and clean and it should fit snugly onto the top of the distributor.
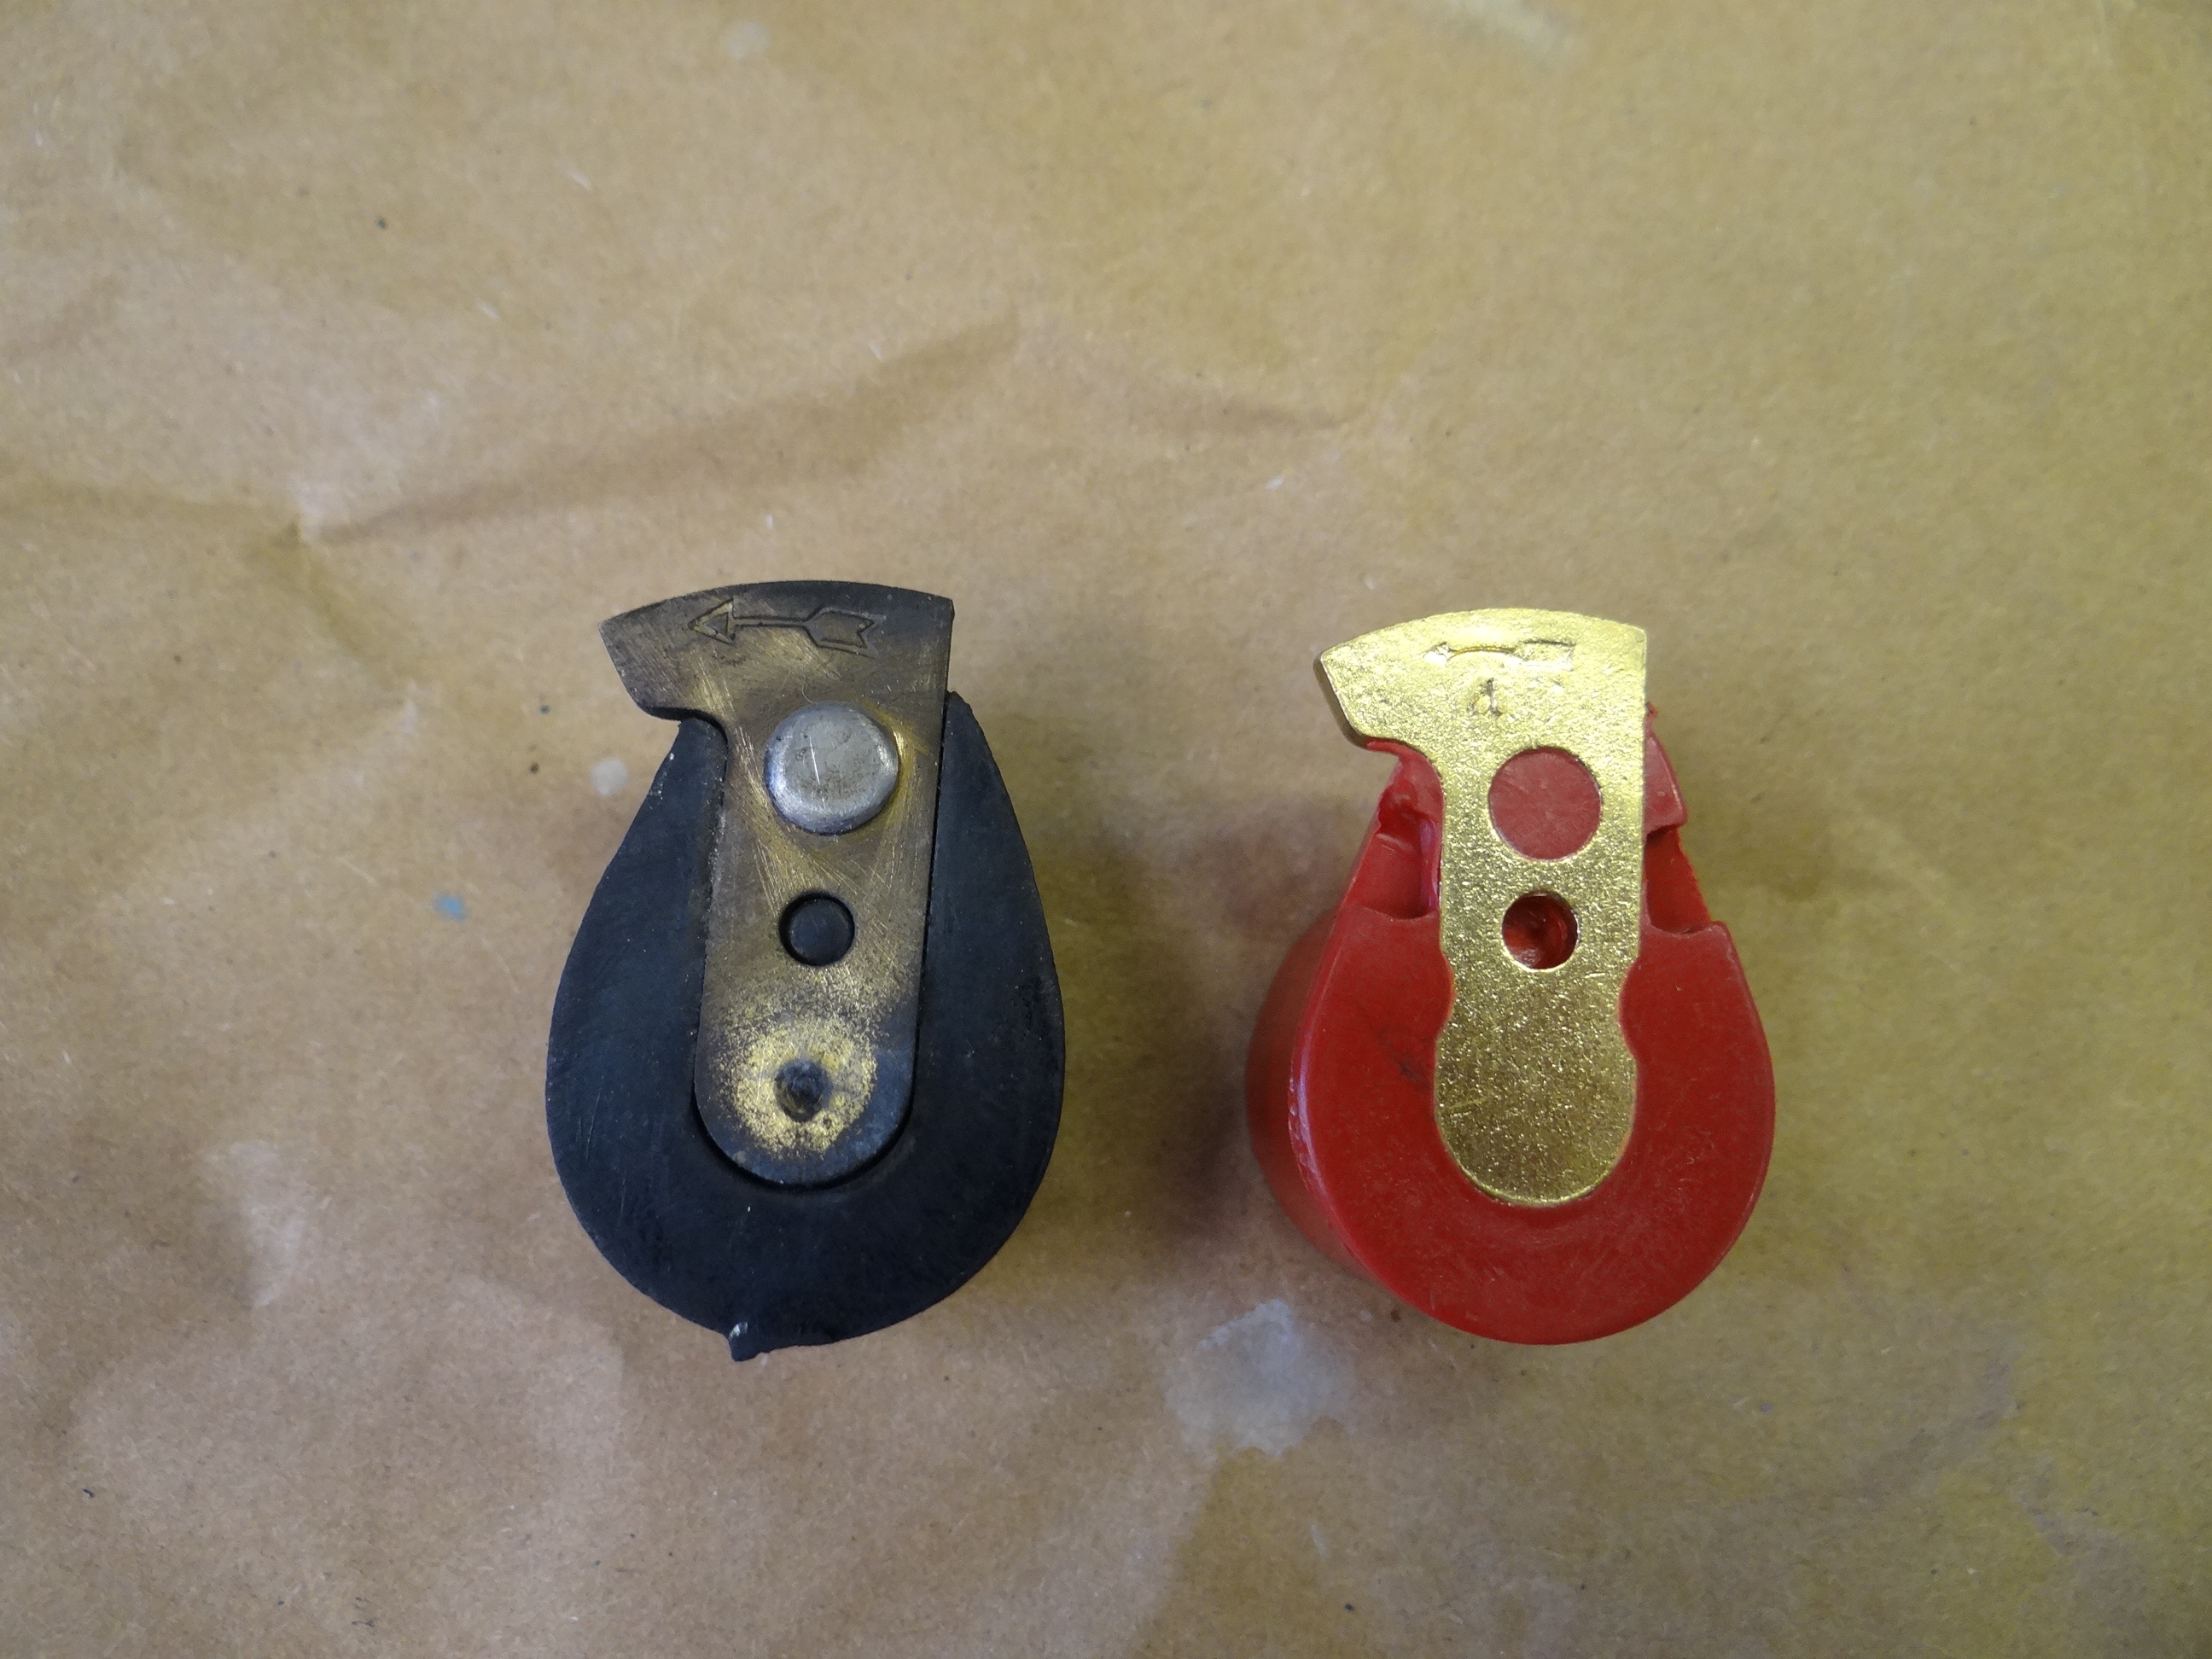
There are two basic styles of rotor arm: one had a broader leading edge, the other a more symmetrical edge – ensure that you choose the correct one for your distributor.
If well maintained, a rotor arm can last the lifetime of a vehicle but poor quality replacements over recent years have resulted in numerous problems for owners. Roger recommends the re-manufactured red rotor arms (above) which use new more resilient materials and have proved to be more reliable – this simple £4.90 plus VAT part can be the quick solution to a poorly performing engine.
One of the elements which can fail and show no signs of wear is the sealed unit condenser which forms the spark and which can be the cause of a severe misfire or stoppage. These can be unscrewed and removed to be tested using an electrical meter but most people don’t have one so, if by a process of elimination, the condenser is looking like the problem then £4 for a new one is hardly an extravagance.
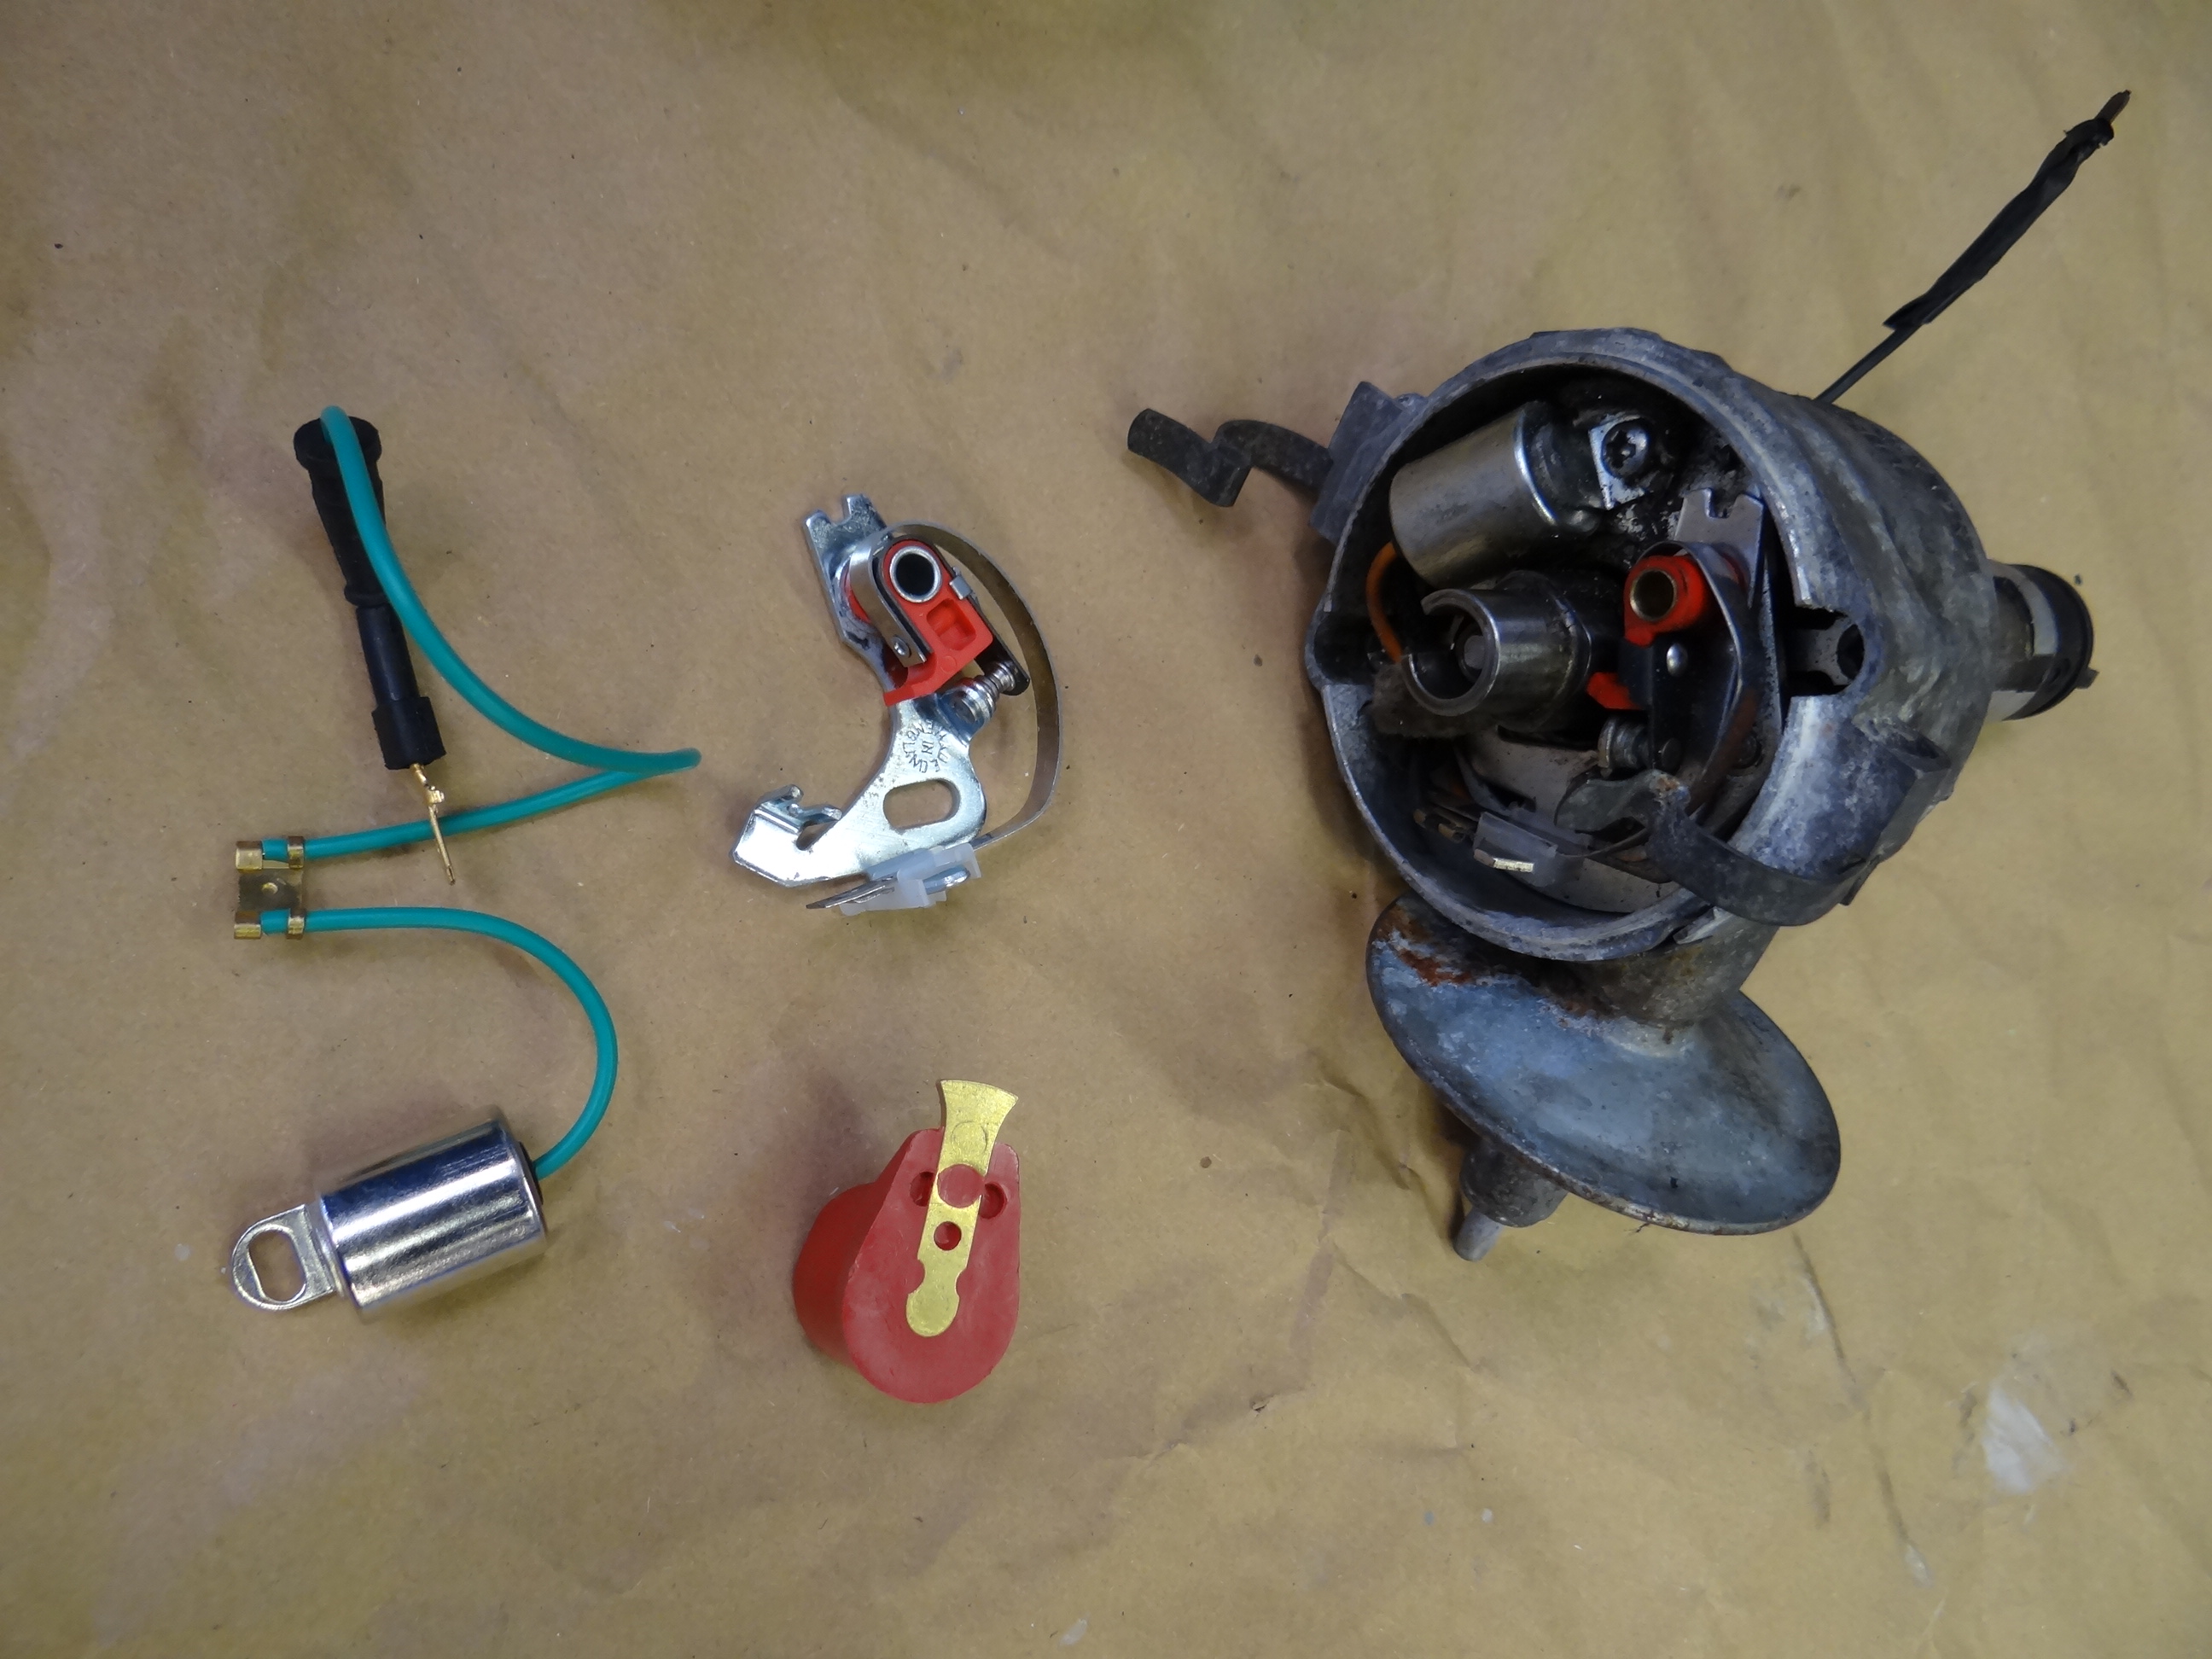
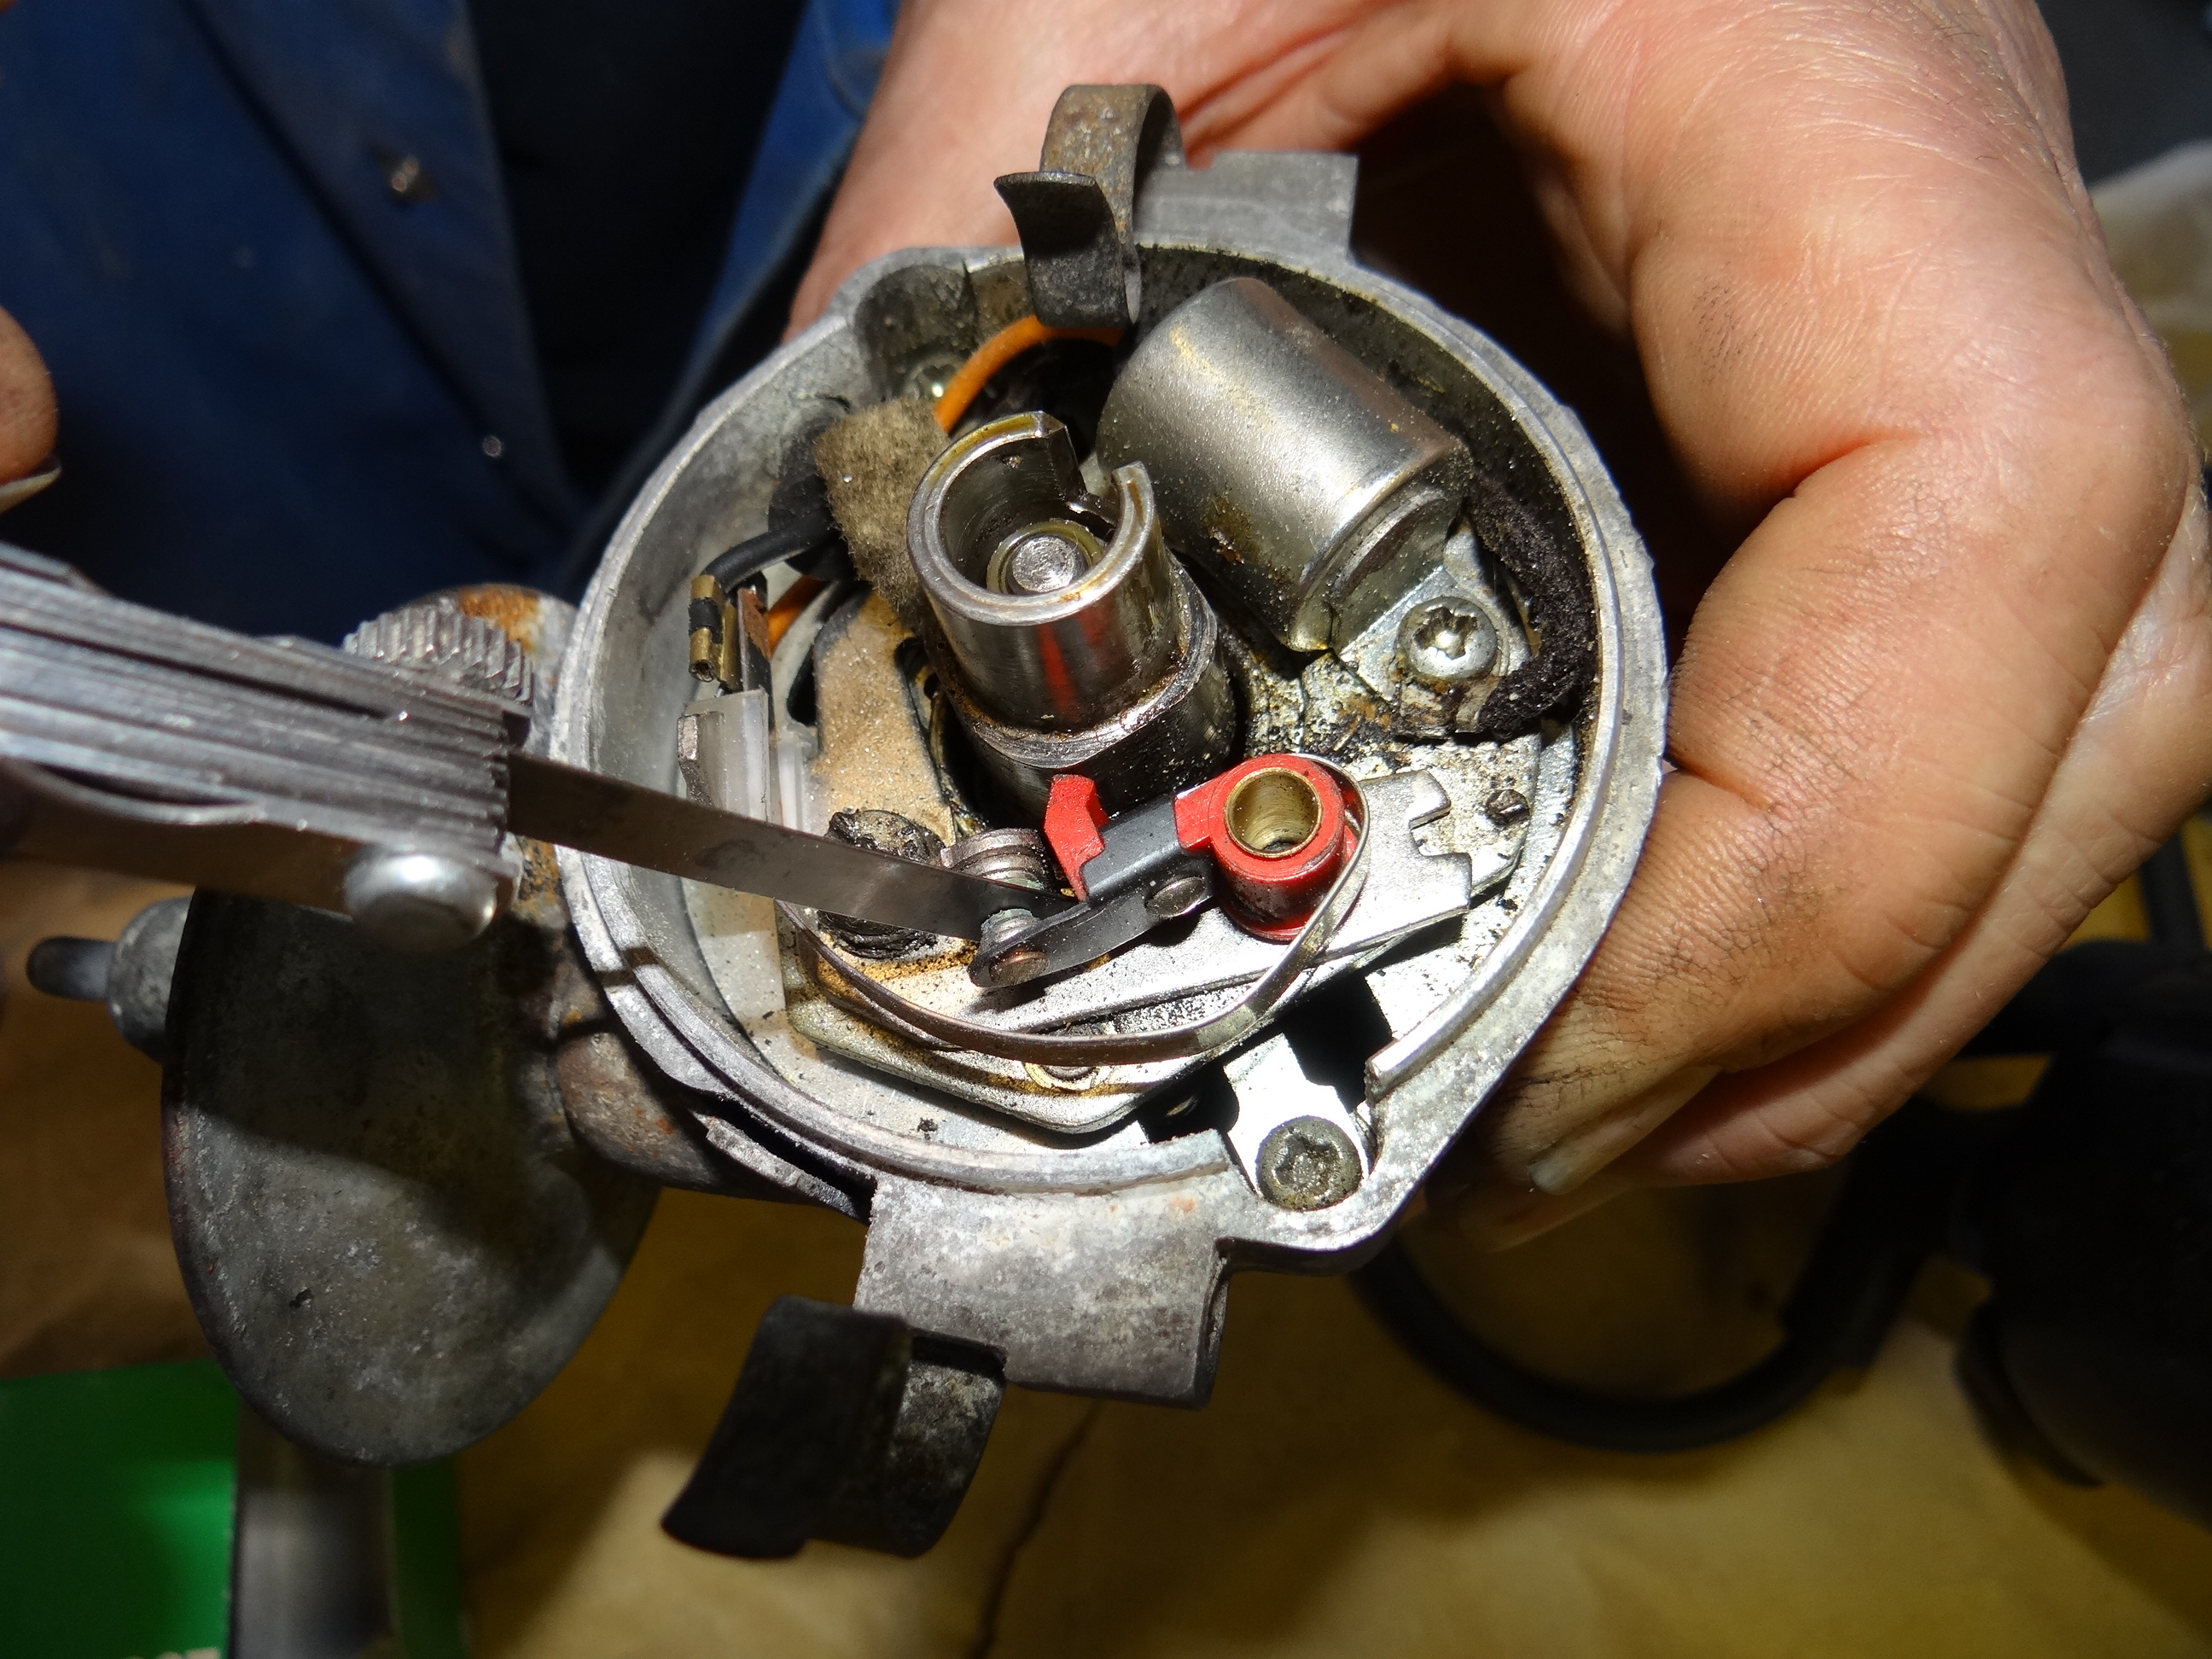
Its companion component is the points which provide the intermittent pulse of power – again this unit can be unscrewed and removed. Here you can check for signs of burning or pitting on the heads.
You can also check the gap between the points which may have reduced or enlarged – check using a 15 or 16 thou feeler gauge – replacement points cost £3.50.
If replacing all the individual components fails to resolve a misfire it could be down to the distributor itself – if there is excessive play it may need replacing. New or reconditioned units cost in the region of £100.
When replacing the distributor (the whole process of removing and replacing components is less than 45 minutes) remember to align it correctly using the mark previously placed on it, if it is a new distributor then the engine timing will need to be checked and adjusted if necessary.